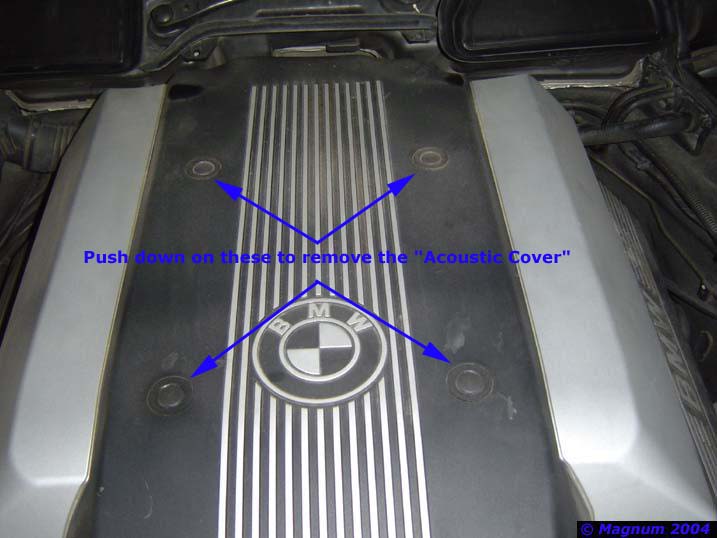
| First disconnect
the negative battery feed in the trunk, then remove the acoustic
cover. Push these 4 plugs in and pop the cover loose: |
|
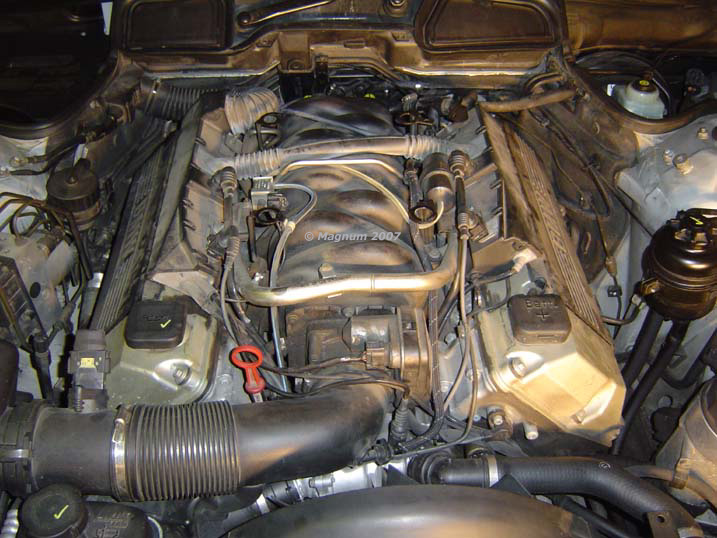
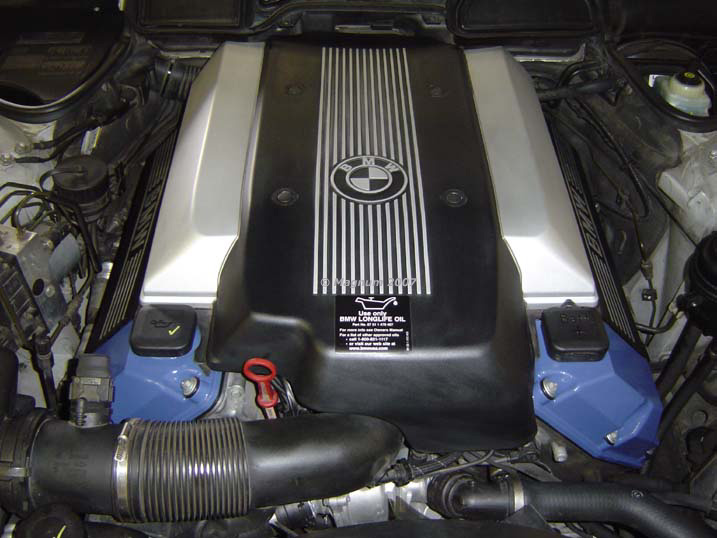
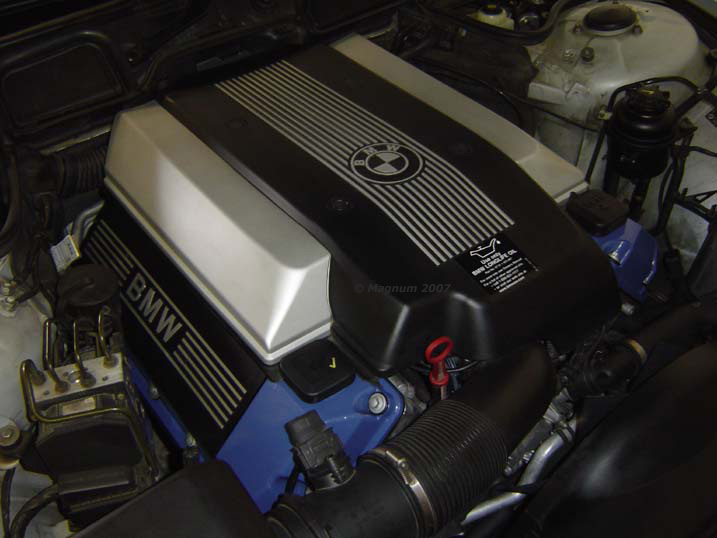
| Here’s what it
looks like with the cover removed, pretty dirty: |
|
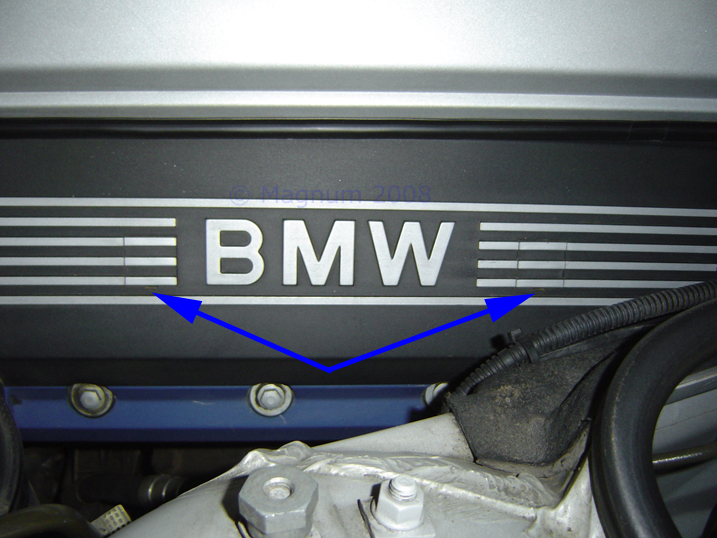
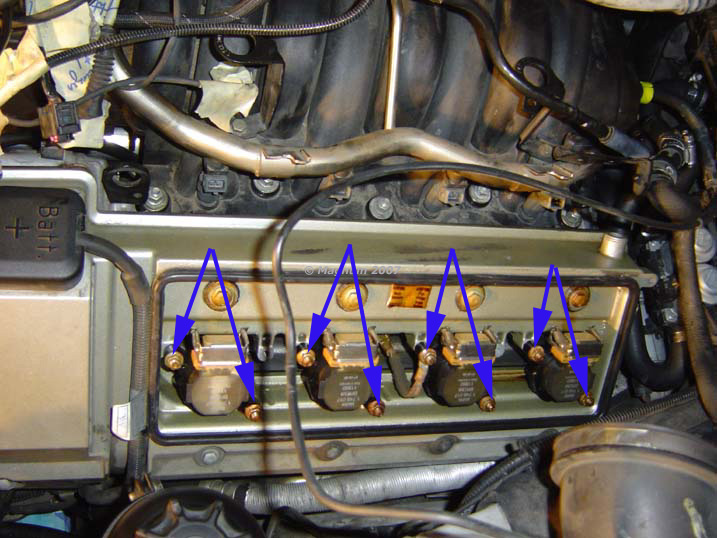
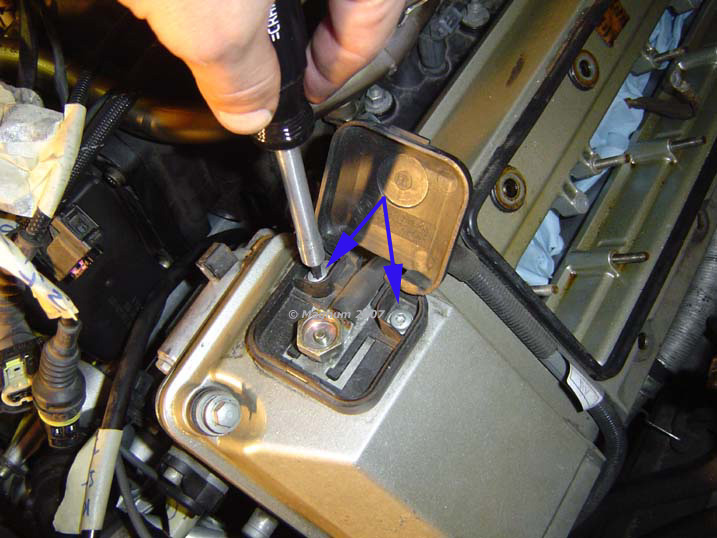
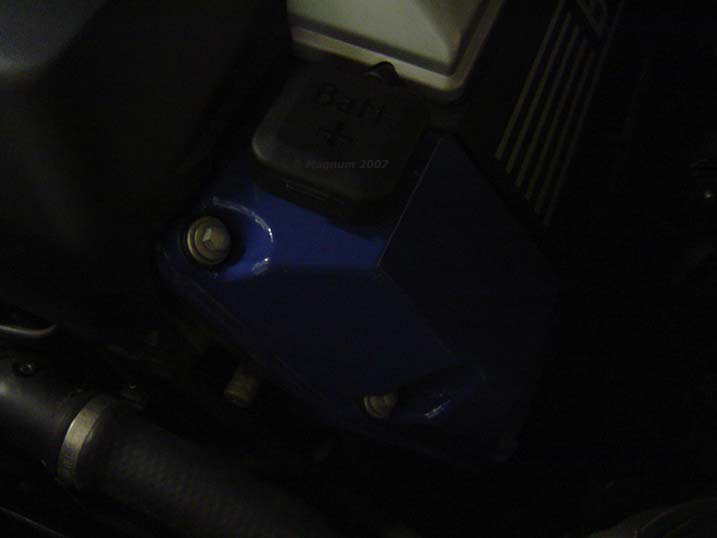
| Now take a flat
head screwdriver, pop these little covers off and remove the 10mm
bolts that hold the covers on: |
|
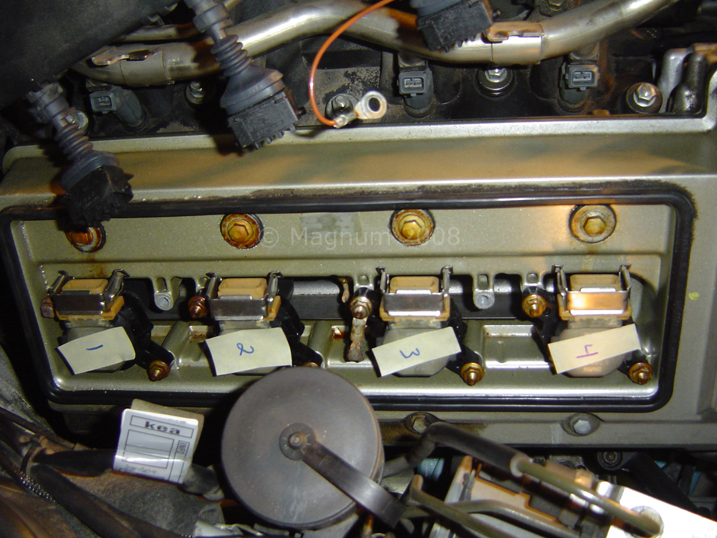
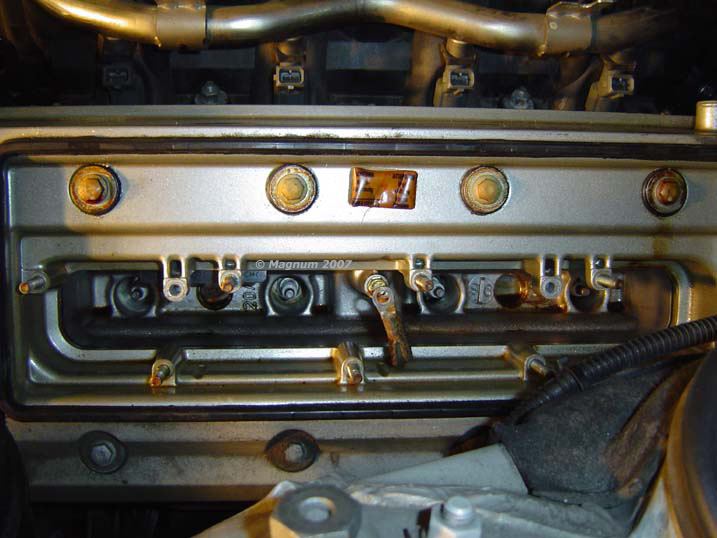
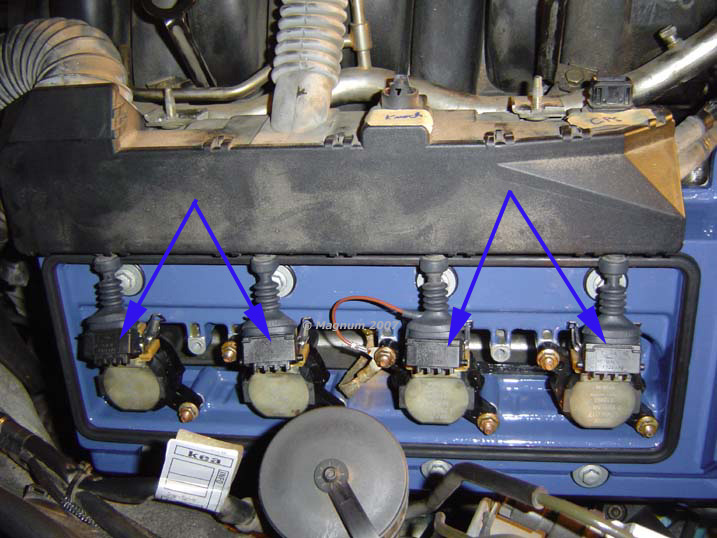
| Now that the
covers are removed you’ll be staring at the bremi coils and below
those bremi coils are the spark plugs. So first things first, remove
the plugs that sit on top of the bremi coils. To do this simply slide
the metal tab with your flat head screwdriver and pull them off: |
|
| Now we’re ready
to remove all the connections. I labeled everything by naming it on
masking tape, wrapping the name tag on the connector, and then
labeling where it plugged in on that particular part. Anal, yes, but
it will save a ton of time later when you can’t remember what plugged
where, a lot of these plugs look alike. Oh, I also tapped over each
plugs end because some of the plugs have little gaskets in then that
can fall out. Also remove the MAF and intake tube leading to front of
intake: |
|
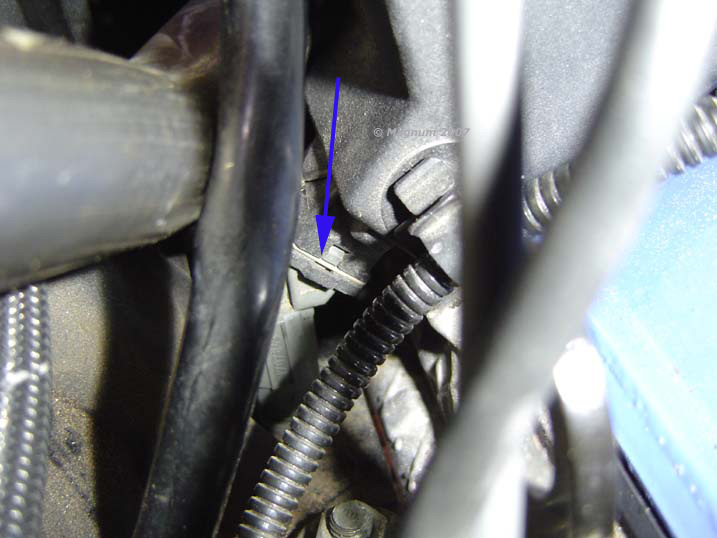
And now you need
to remove the clips that hold the electrical boxes on. These are a
PITA, and I won’t deny that, but I used a long O-Ring pick and was
able to remove them with only a bit of trouble. I had great luck
working from the inside of the electrical boxes. You need to unhook
the back sides of the clip and there are 4 on each side and they
connect to the fuel injectors. There are 4 on each side, don’t drop
or lose any on these!
Once the
clips are off and you've got the boxes loose, lift the boxes up and
let them rest on the intake manifold: |
|
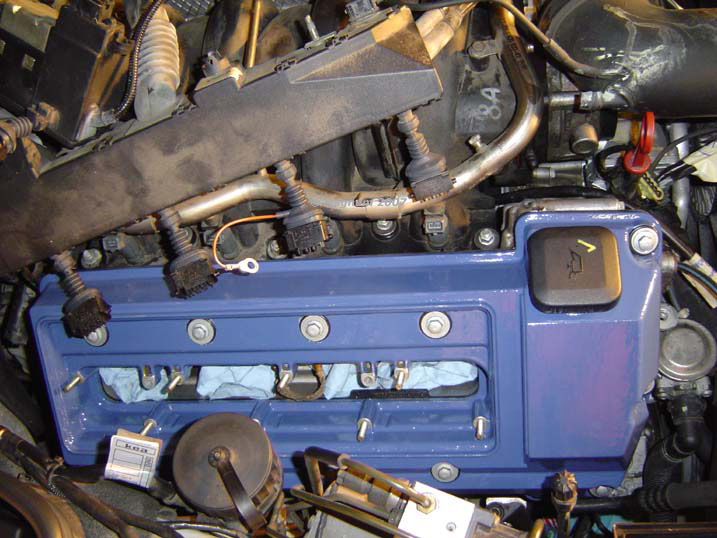
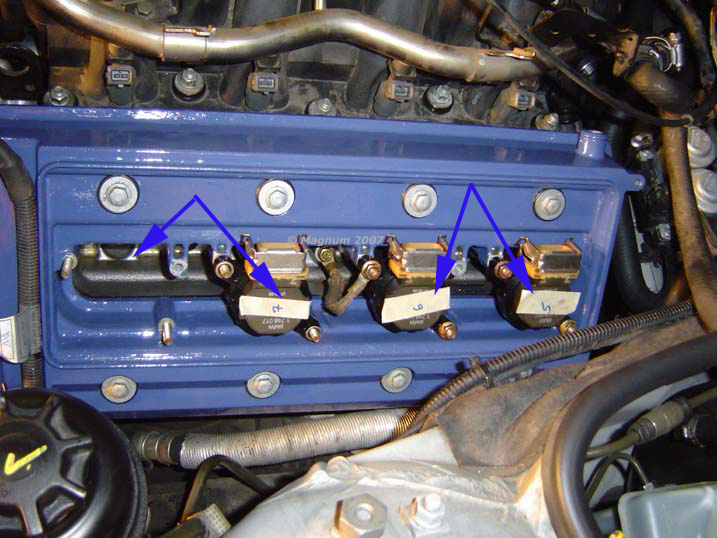
| Alright, now
we’re moving onto the Valve Cover Gaskets! Label and remove the bremi
coils, 2 Nuts each and then pop them out: |
|
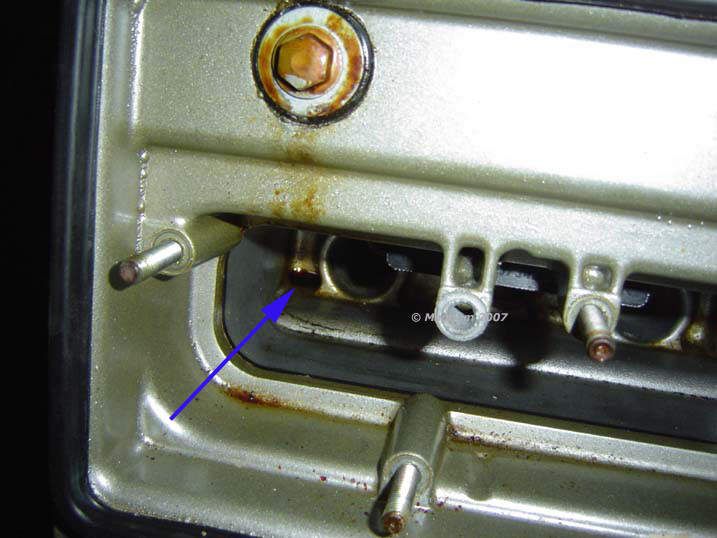
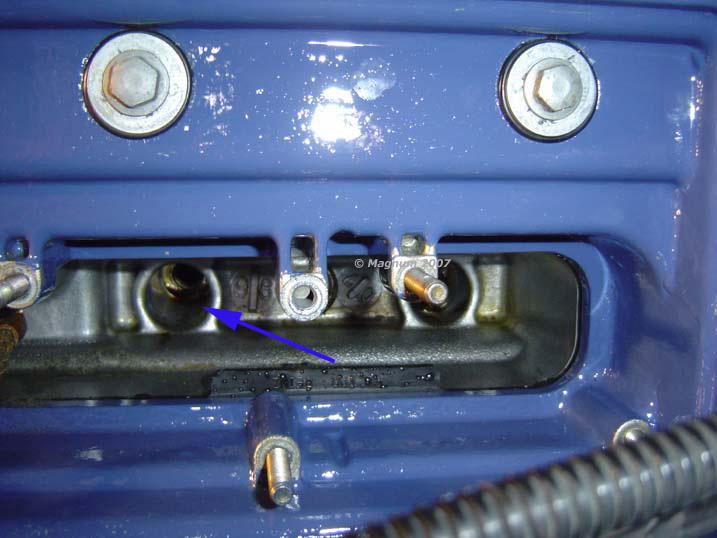
| Here’s a little
oil pooling. I’m sure these could have waited a little longer but why
not just get it done when I was tearing everything else apart. If you
don’t plan on changing your spark plugs you can just leave them in: |
|
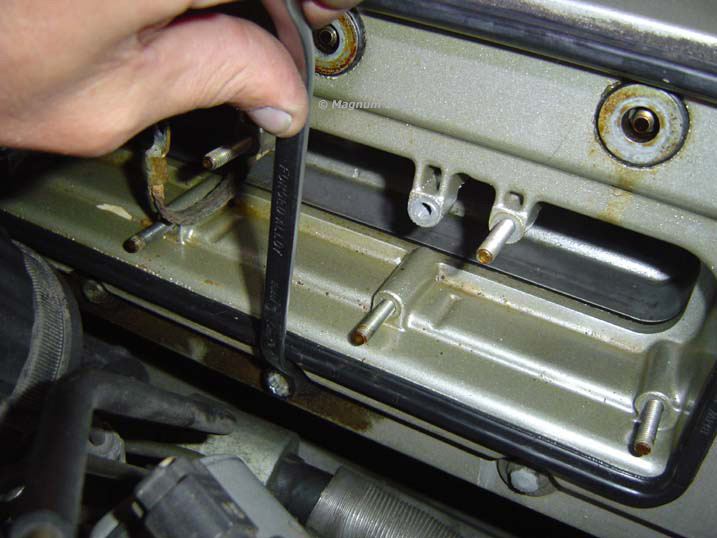
| Start removing
the “Caps” and bolts on the valve covers. There are 8 of the cap
style nuts and 3 bolts per side. For most of them you can use a
ratchet / socket, but for some of the hard to reach ones I used my
angled box wrench: |
|
| Once you have
all the caps and bolts out begin to work the valve covers off. I’m
going to be completely honest here and tell you it is a BITCH. I
grabbed the oil cap and had my car rocking back and forth, then I put
my feet on the wall next to my car and pushed like hell….Finally, I
was able to break the passenger side corner valve cover loose and then
peel it the rest if the way. The driver side was exactly the same. I
repeat, these valve covers are an absolute PITA to remove. HINT?
Take a flat head screwdriver and insert in one of the top sturdy
corners and pop them loose, then use your hands to remove the cover: |
|
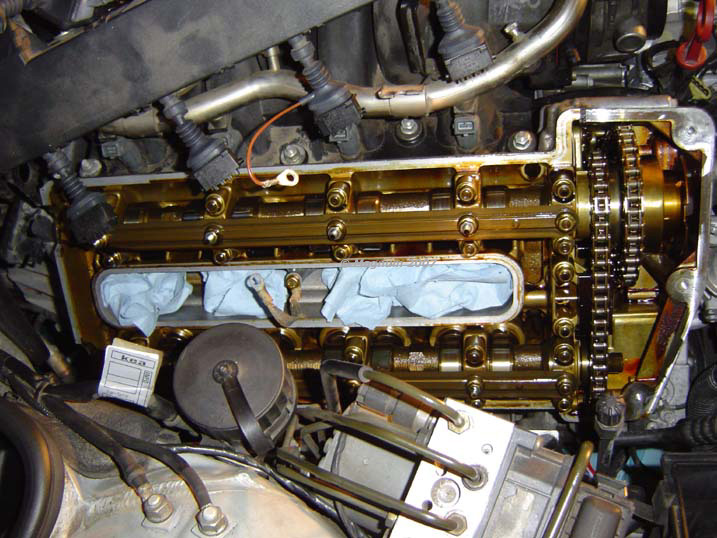
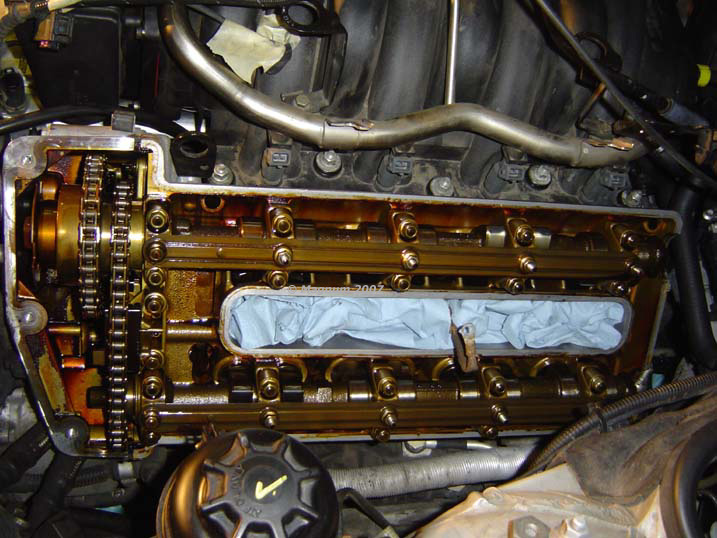
| Passenger side
off, clean though huh….100K and it looks great to me! No Sludge: |
|
| Another shot, no
sludge because of timely oil changes with full synthetic oil: |
|
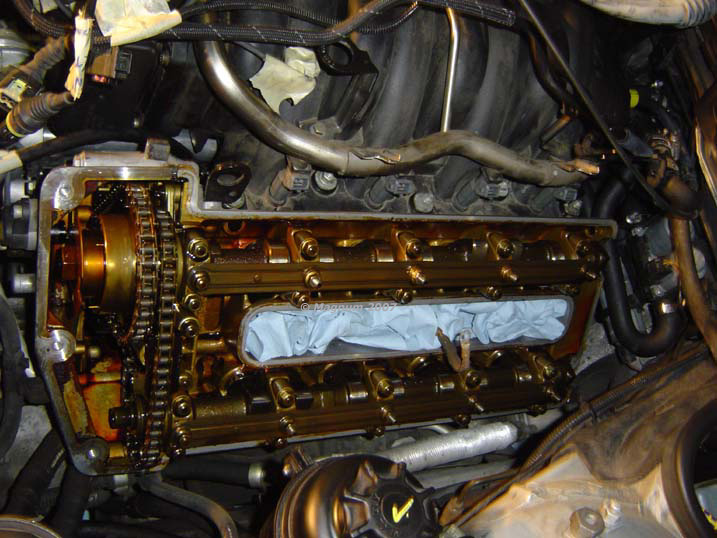
| ….and another: |
|
| Now remove the
Driver side same thing as passenger side, remove all 8 nuts and 3
bolts, then pull the bremi coils out: |
|
| You can see a
little oil here to: |
|
| Again the driver
side is the same as the passenger side, loosen 8 caps and 3 bolts and
work it like hell: |
|
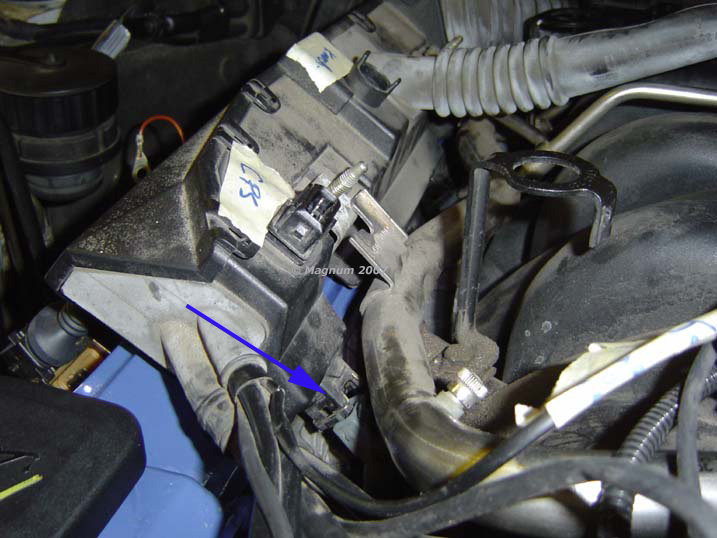
| Once you get the
valve cover loose detach the positive battery feed. T-25
torx if I remember correctly. I wrapped it up in a towel, tapped it
and set it aside just for safety. Do not let it touch metal, wrap it
up in a towel and tape it!!!: |
|
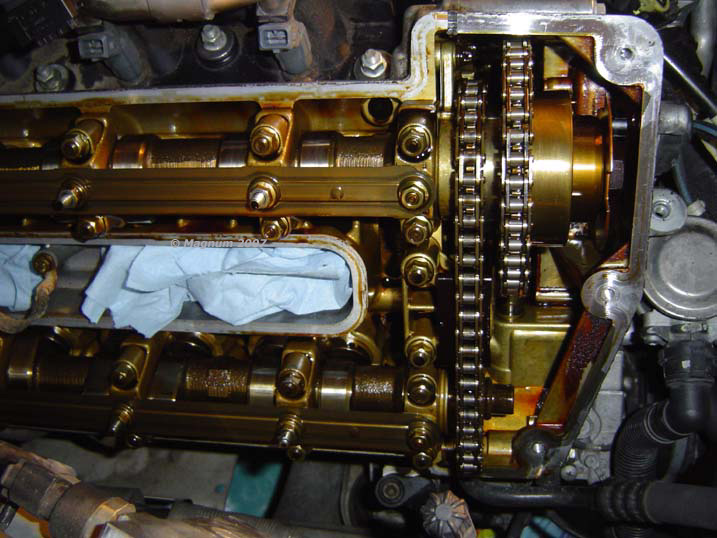
| No sludge here
either!: |
|
| Pretty clean for
100K: |
|
| Another: |
|
| Close up, and I
put shop towels just to make sure no crap fell down in the plug area: |
|
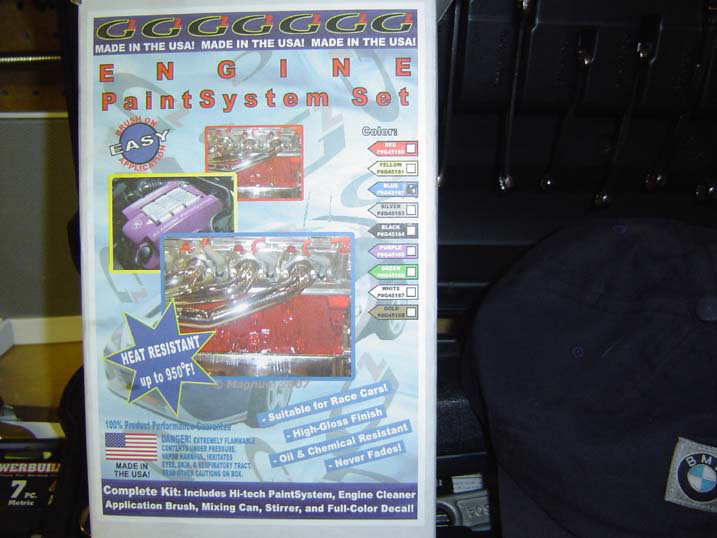
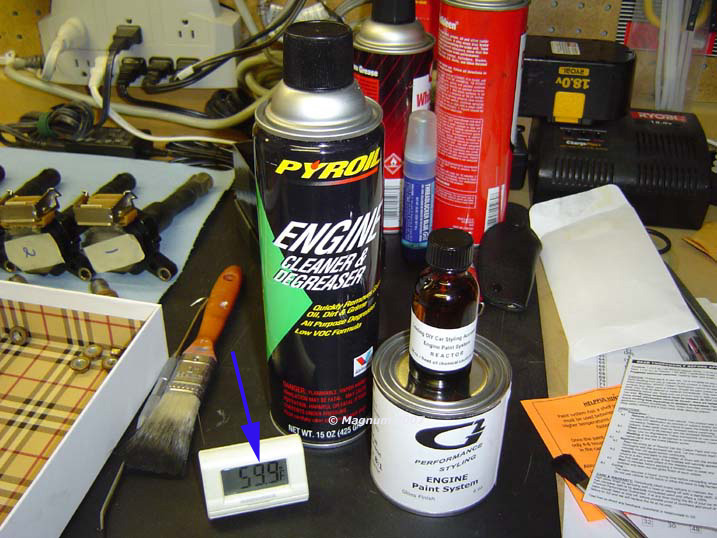
| Now that the
valve covers are off, time to paint them. I chose the G2 engine paint
kit. Hope it holds up ok!: |
|
| Here’s what the
kit has inside. I got lucky because the kit says minimum 55 degrees
maximum 70 degrees for application: |
|
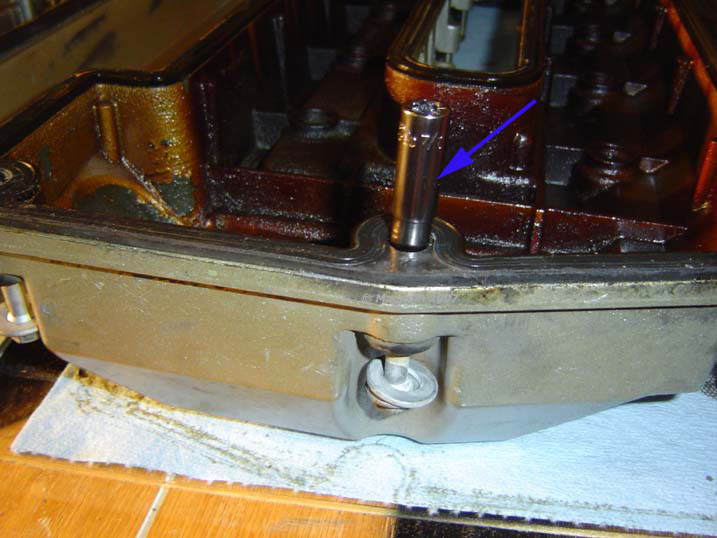
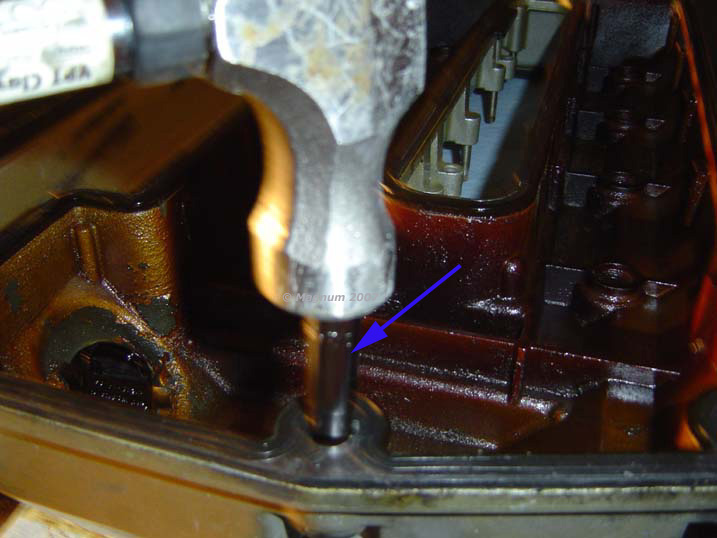
| First thing is
first, knock out the bolts. I matched up a socket, put it in and
knocked it with a hammer. Do all 11 this way, the washer and rubber
grommets come out much easier than these 3 bolts: |
|
| Hammer shot: |
|
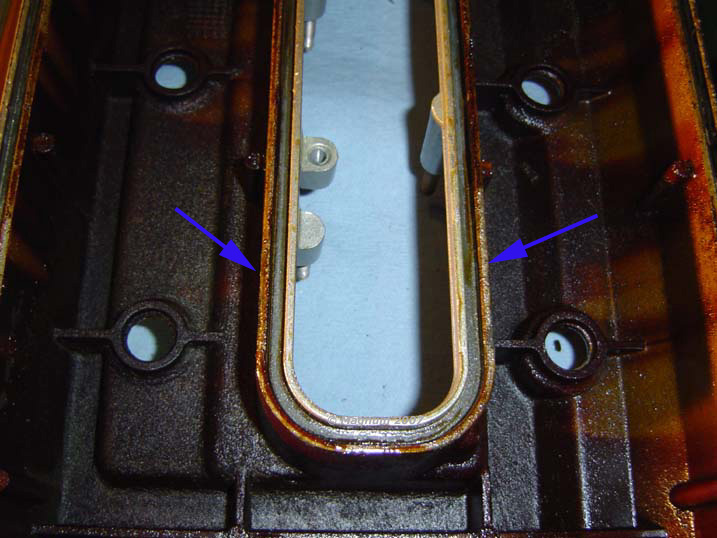
| Now peel the old
gaskets out: |
|
| Gasket is out
and they don’t look to bad: |
|
| Pull out the
middle gasket, again this one doesn’t look too bad either. I took a
600 grit wet / dry sand paper and prepped all the grooves for the new
gaskets. Basically I sanded them down smoothly without working it too
hard. They turned out real smooth and clean, I didn’t feel the need
for sand blasting or bead blasting: |
|
| Now time to prep
for paint. First I cleaned everything with the engine cleaner, then
lightly sanded all the rough areas and scuffed up the rest. I also
tapped of the bottom so paint wouldn’t get on my nicely cleaned
surface for the new gaskets. Follow G2’s instructions that come with
the kit: |
|
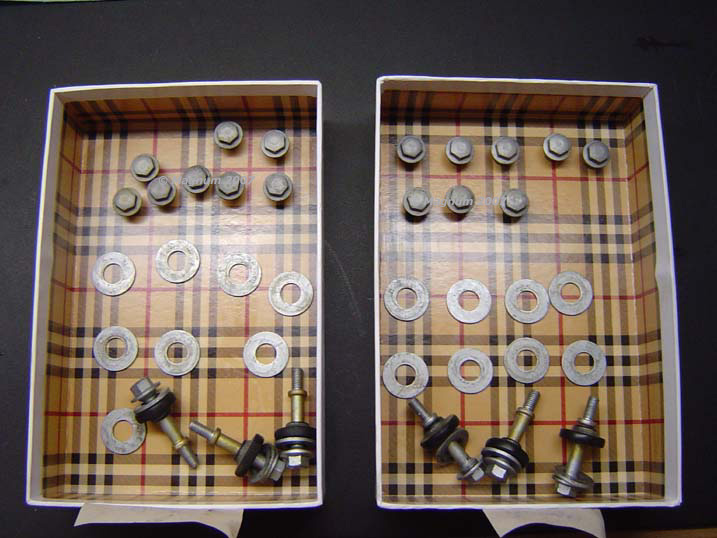
| Here are the
valve cover caps, washers and bolts. I did thoroughly clean each one: |
|
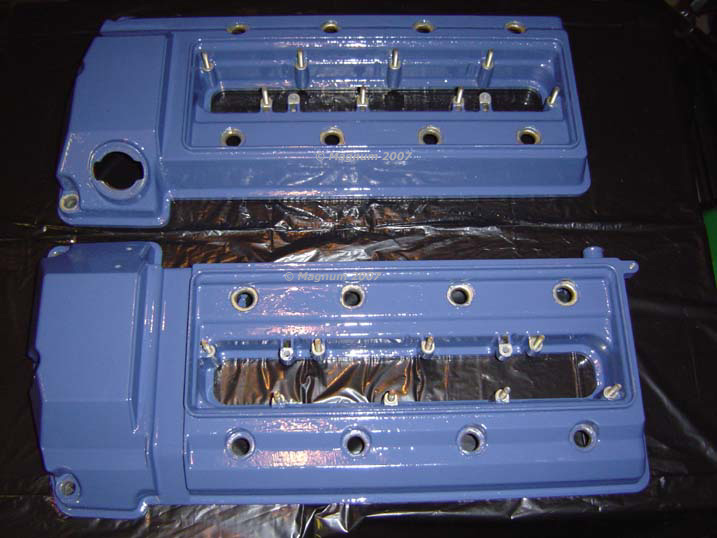
| Painted, this is
after the third coat. I put 4 coats with a final touch up coat. They
turned out really well, but the camera doesn’t do them justice as they
are a darker blue similar to blue in the BMW roundel: |
|
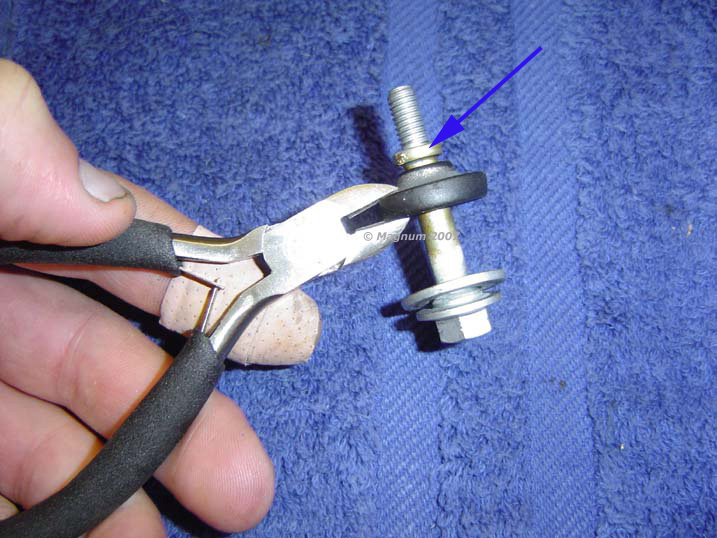
| When
reinstalling the valve covers you have to use new rubber
grommets. To get the old ones of I just snipped them in half and then
slid the new rubber grommets on: |
|
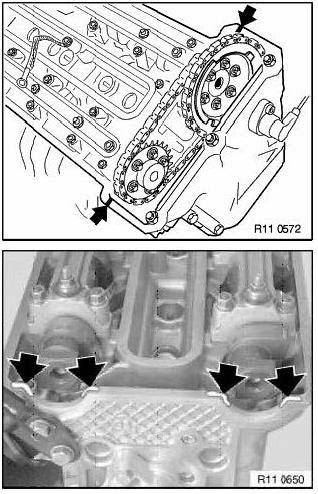
| When putting the
new valve cover gaskets on coat them with glycerin. I put a small
dab in the palm of my hand and ran the gaskets through the palm of my
hand to coat them. The glycerin makes it very easy to slide them
around to get them seated properly. You also need to use the Permatex
RTV Silicone and put a small amount in various spots. Here’s a shot
from the TIS manual on where to put the beads of silicone: |
|
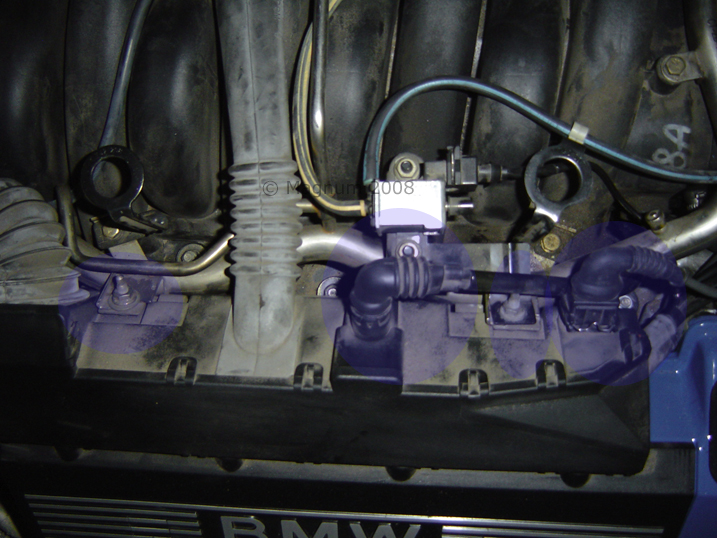
| Now when
installing the valve covers you want to try and get them in place
without moving them around too much, because you don’t want the
silicone to shift and thus becoming ineffective. I put the valve
covers on and seated them without too much trouble at all. Here are
the valve covers installed and bolted / torque’d down! I worked from
the inside out tightening them, just as the TIS says to tighten: |
|
| Passenger side
valve cover on, seated properly and all tightened down: |
|
| Now that both of
the valve covers are on it’s time to move onto the spark plugs if your plan on changing those. After removing
my spark plugs you can see a bit more oil pooling, glad I did this
now!: |
|
| Here’s a close
up of the pooling oil. The pooling at the plugs was mainly isolated
to the driver side 2 plugs closest to the firewall: |
|
| Here’s another
close up: |
|
| After putting
the plugs in and torqueing properly, reinstall the bremi Coil packs
the same way you took them off: |
|
| Now it’s time to
put these electrical boxes back on. Swing them back over, and line up
the connectors the sit on the side of the fuel injectors. Take your
time, make sure all the locking clips are where they are supposed to
be, line them up properly and “snap” them in place. You will be able
to hear and audible click when they lock in place: |
|
| Now that we have
those in place, it’s time to put the connectors back on the coils.
These are easy, they just fit over top, slide down and lock in place
with the metal slider that’s on the coil. If you are replacing the
cover gaskets you see here, now is the time to put them in place. I
replaced mine, so these are the new ones. Finally put the black
covers back on and wrench them down, no torque spec for the covers: |
|
| Wipe everything
down with your favorite cleaner, I prefer Mother’s Back to Black for
all the black items. It works wonders and smells really good: |
|
| Couple more pics,
again these pics don’t do justice to valve covers. It is a darker
blue and look freakin’ awesome: |
|
| Another: |
|
| Close up: |
|
| Ok last one,
here’s a close up without the flash. This kind of captures the darker
blue color: |
|