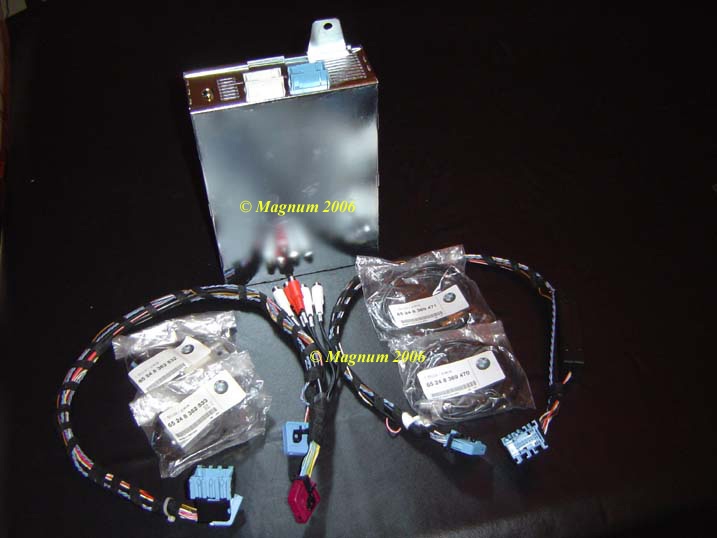
| Here’s what
I’m installing, TVonNAV Module: |
|
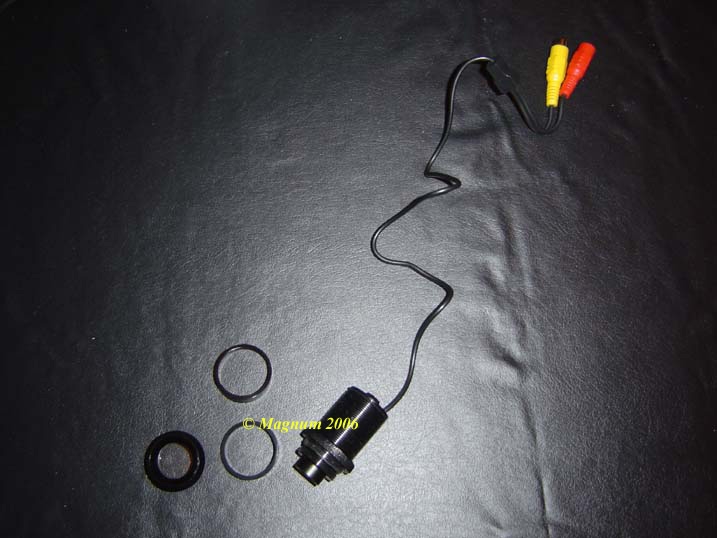
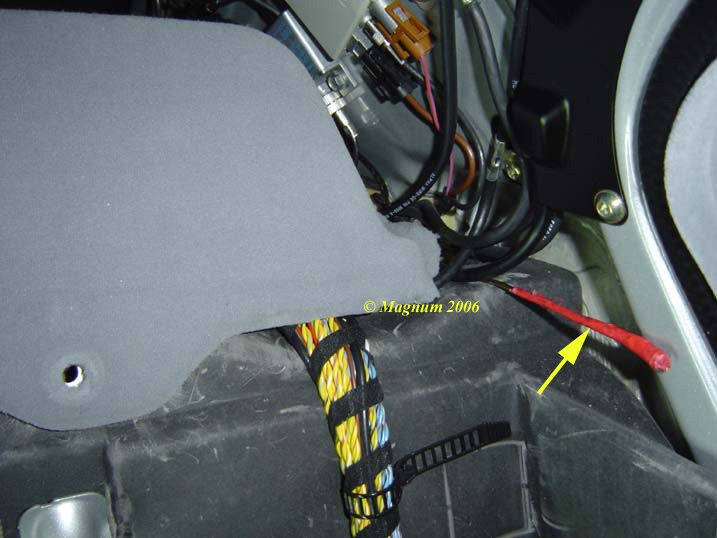
| And this,
Backup Camera: |
|
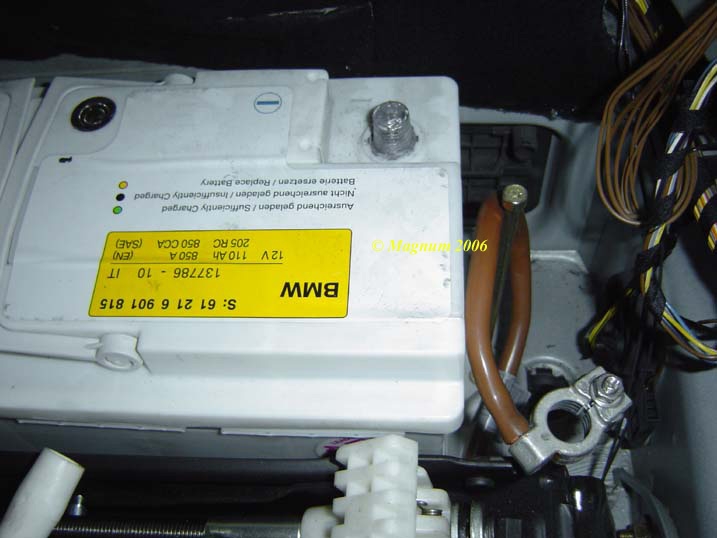
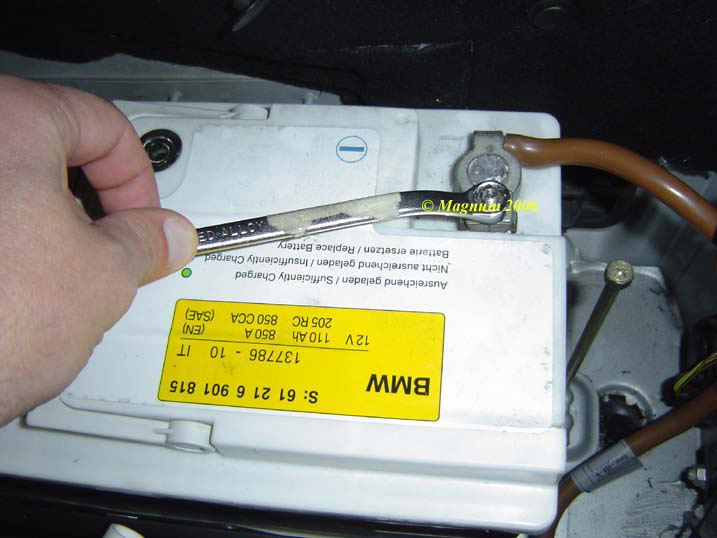
| First
disconnect the Negative Battery Cable: |
|
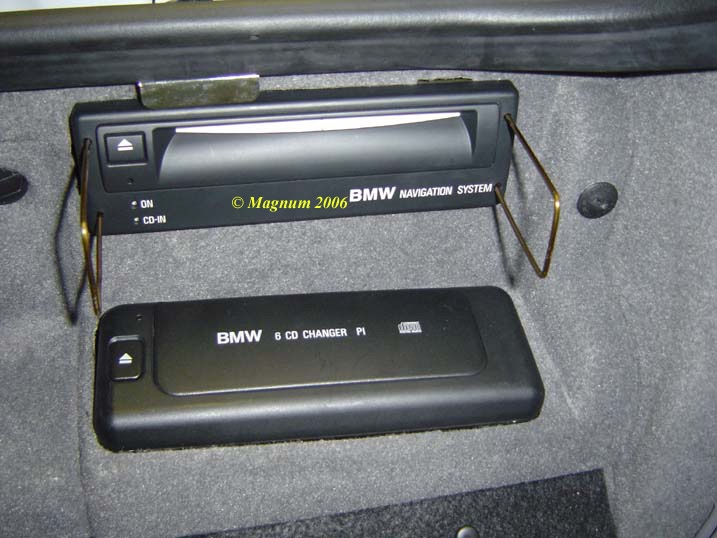
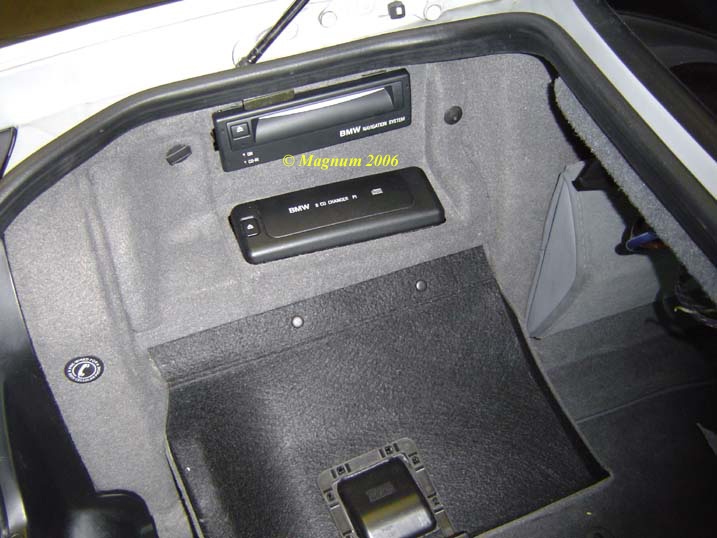
| Then remove
the Nav and pull the cover: |
|
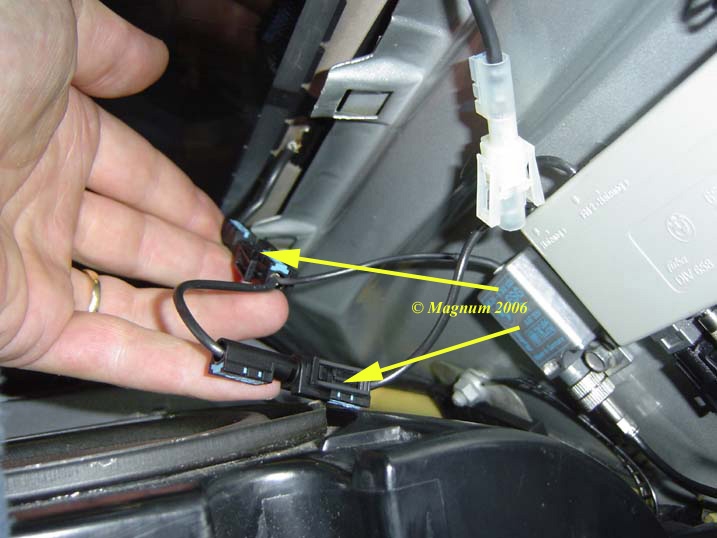
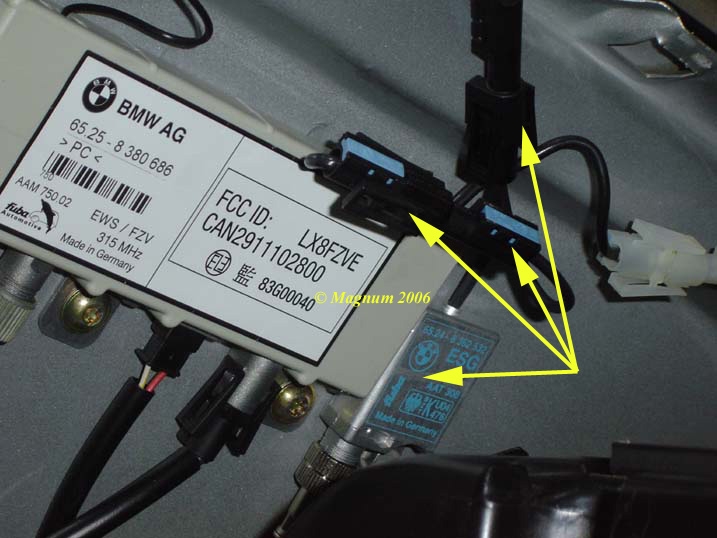
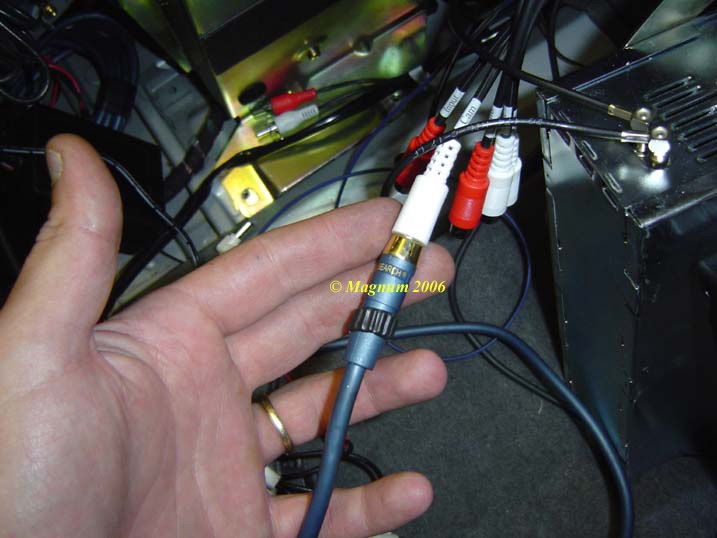
| Now it’s time
to test the TV Module first: |
|
| Worked the
first try: |
|
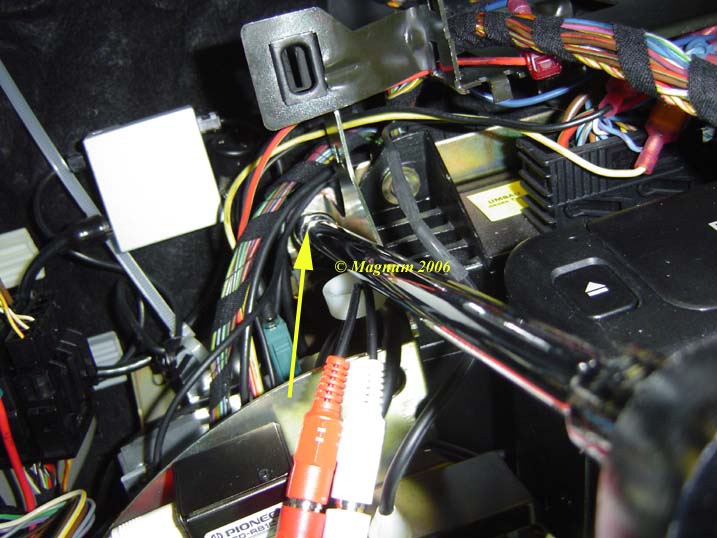
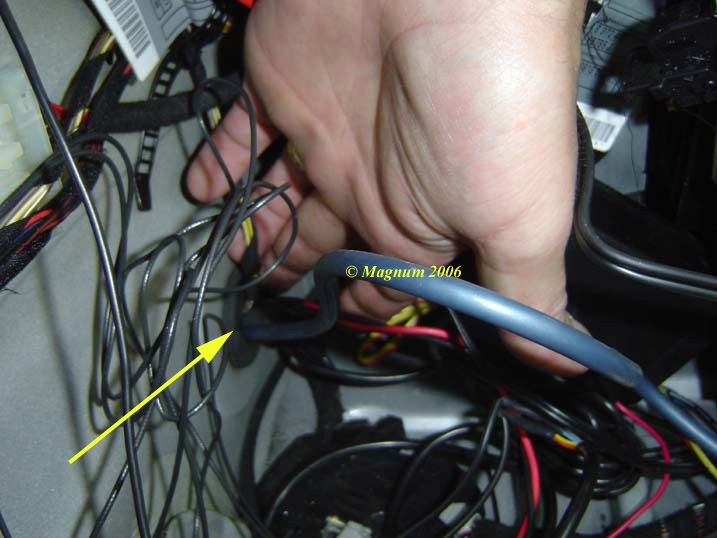
| Now test the
other cable that comes with the TVonNAV system, I think this
second cable is the video in motion bypass: |
|
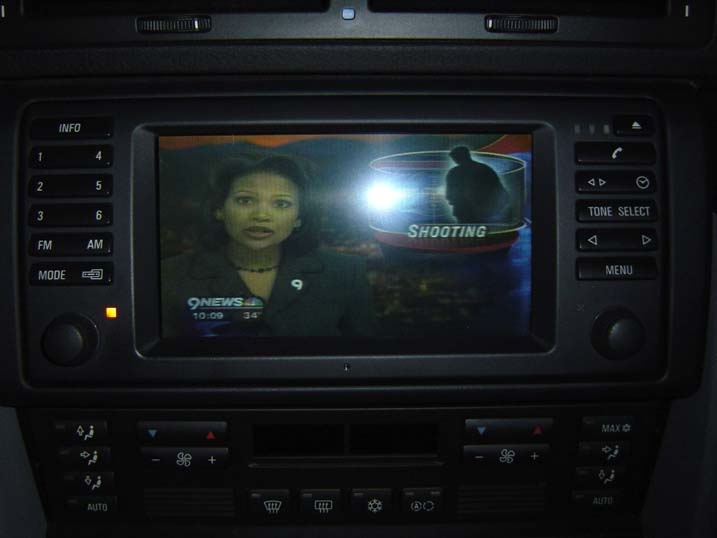
| Bam, we have
TV in motion folks: |
|
| A view of the
reception, understand the antennas are still sitting in the
trunk….It gets better: |
|
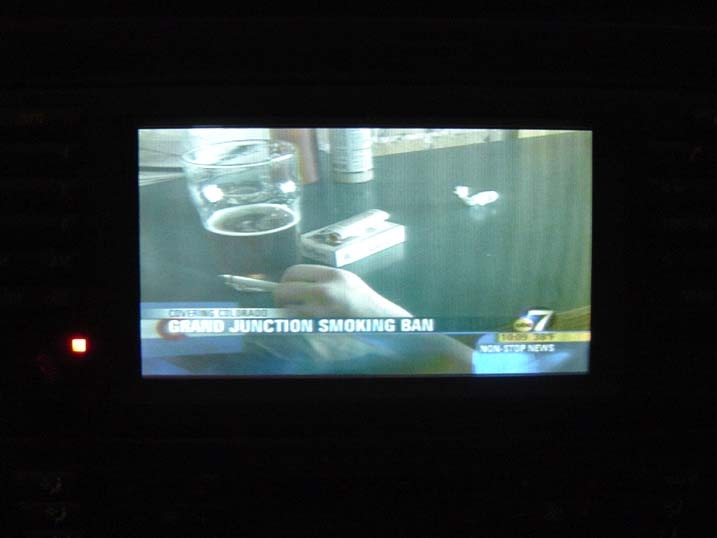
| Another: |
|
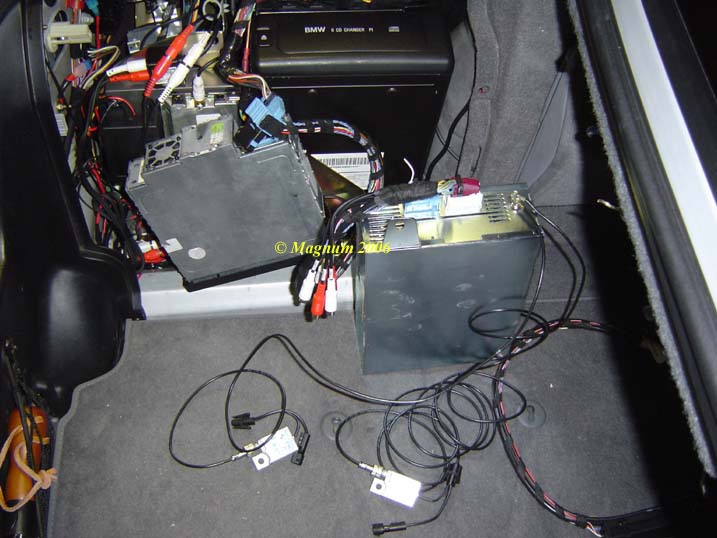
| You may or
may not have a lot of junk in your trunk, but I do, so all this
needs to come out. Not too much fun: |
|
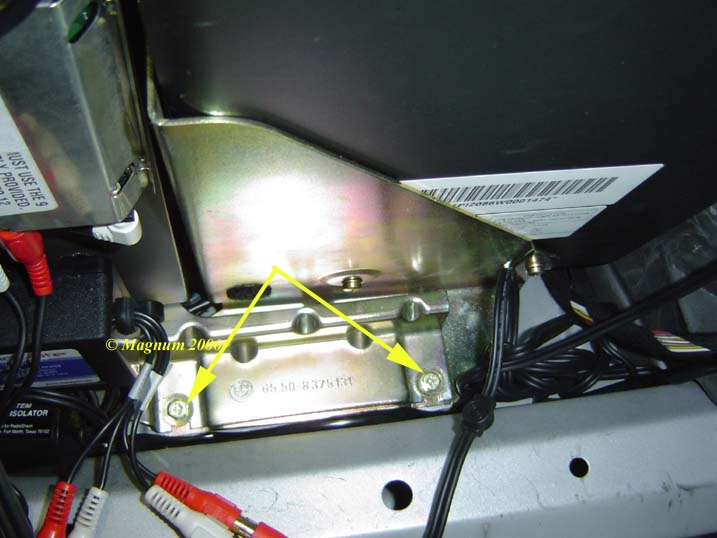
| I use a long
extension to get at the bolts back there. There’s 2 of these, 1
bracket is for the CDC and the other bracket is actually for the
TV Module: |
|
| Now remove
these 2 bolts: |
|
| And pull
everything out: |
|
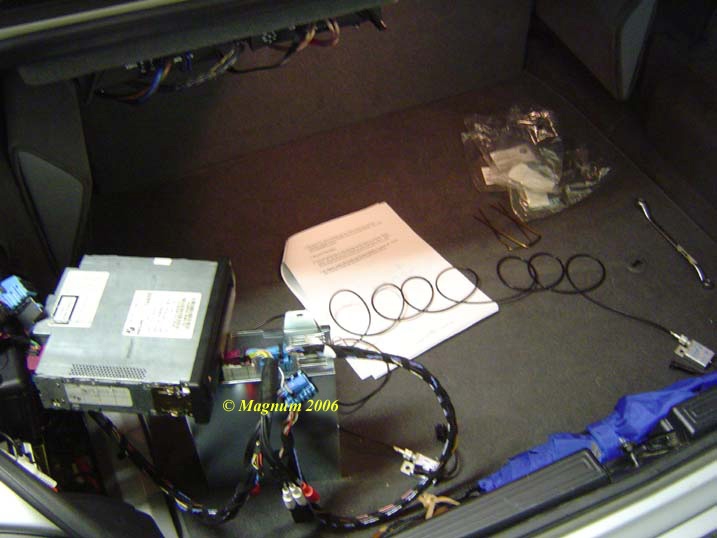
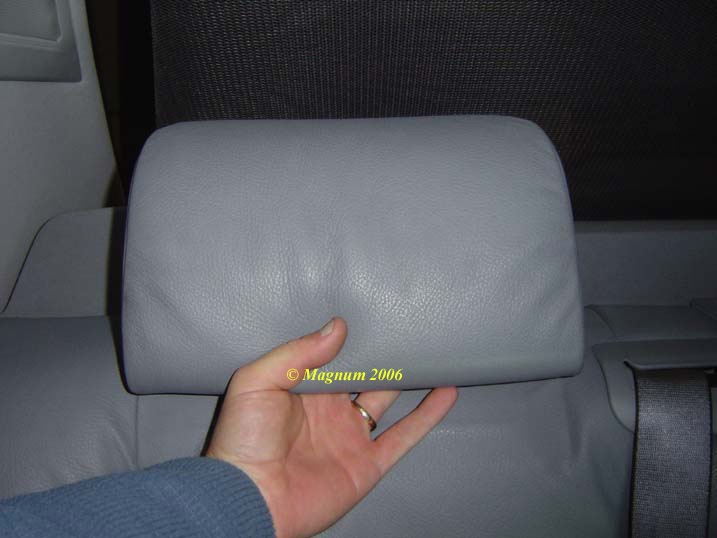
| Now that we
know everything works, it’s time to route the antennas to their
final location in the C-Pillar. First remove rear headrest,
this is done by pulling them straight up: |
|
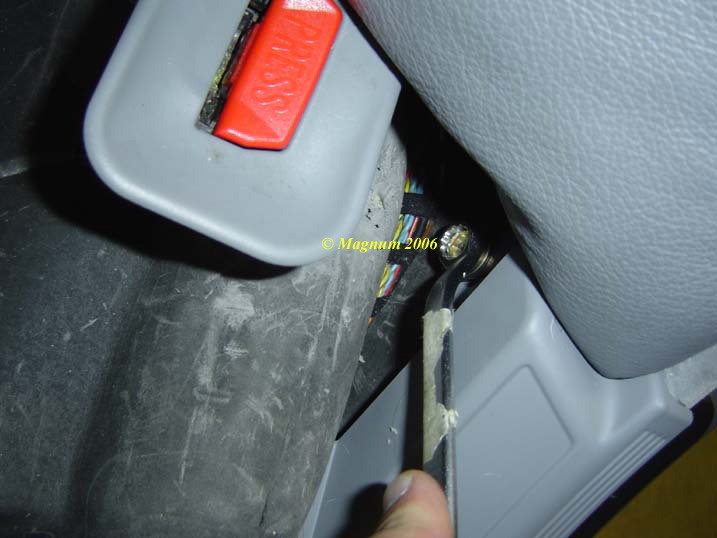
| To get the
rear bench seat out grab in the center of each seat and pull
straight up, then remove the rear seat backs. Loosen this nut,
pull seat bracket away: |
|
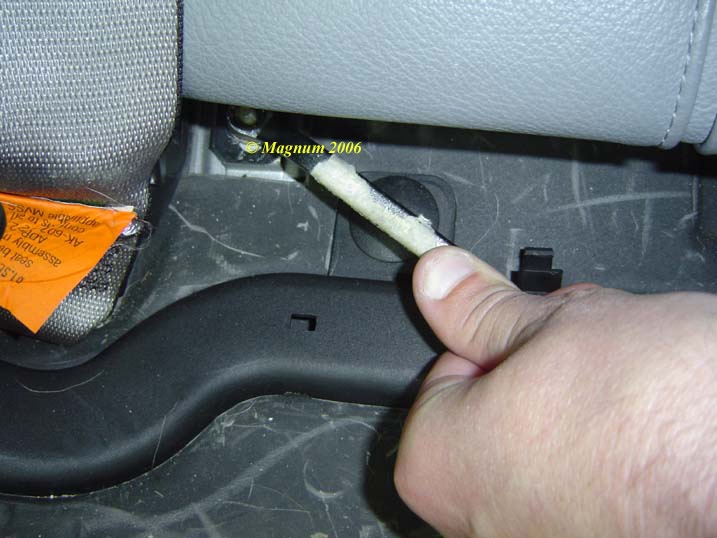
| Then remove
the lower bolt and lift the seatback up: |
|
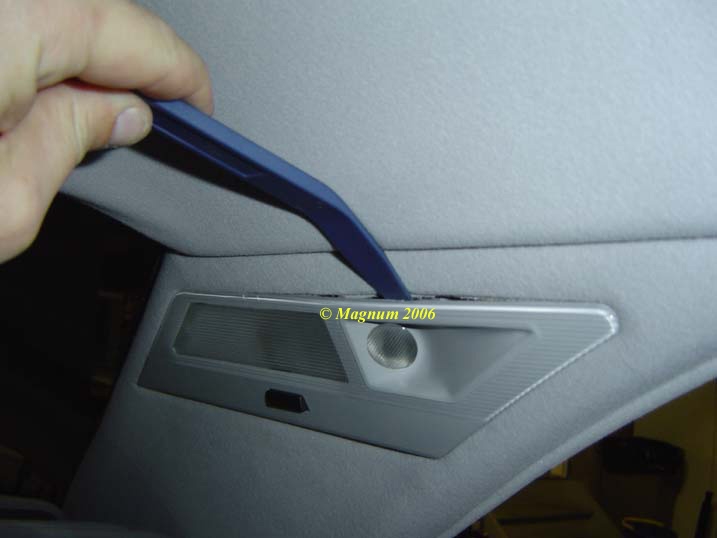
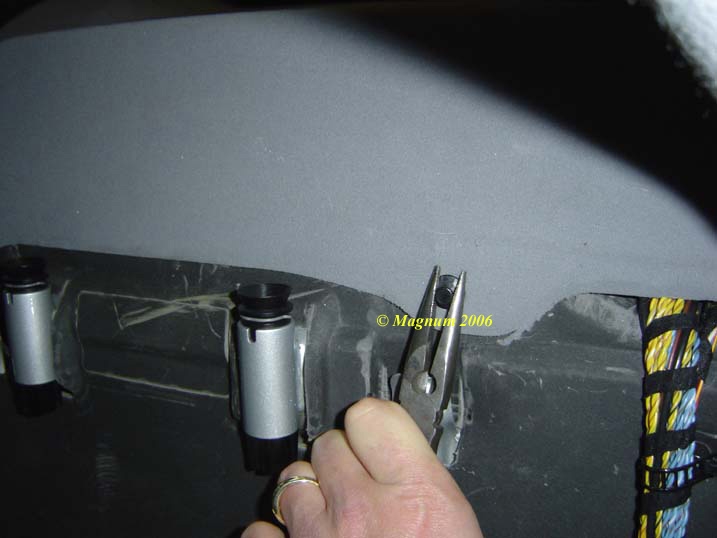
| Now remove
the C-Pillars, pop out this light: |
|
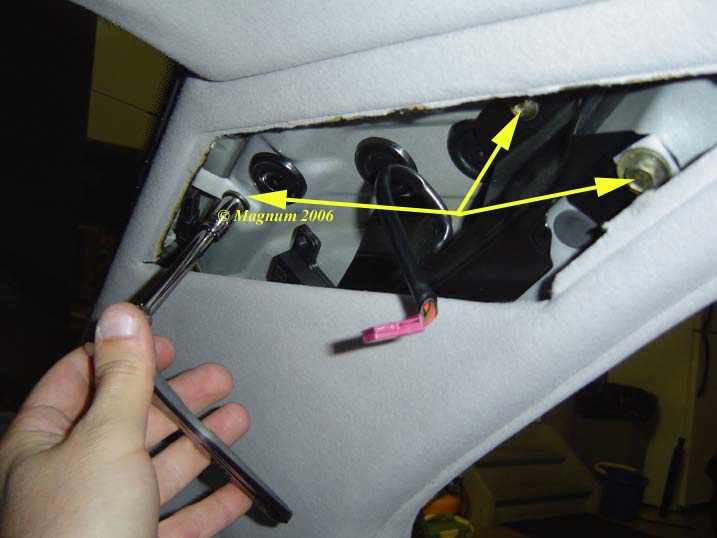
| Remove these
3 screws and slide it out: |
|
| Now remove
the speaker cover on the rear shelf: |
|
| Now we are
ready to fish the antenna cables. I used a coat hanger with the
end taped up to fish through the grommet that exist. This view
is from deep in the trunk: |
|
| And here's
where the coat hanger comes out: |
|
| Now tap the
antenna leads on and pull it back through. I chose to do it
this way because the connections on the end of the antenna leads
that plug in the antenna are large: |
|
| Now here’s
where you mount the antennas, I just used a sheet metal screws: |
|
| After you
have attached the antennas to the car body, hook them up to the
existing rear window antenna: |
|
| And here’s
the passenger side, I just tucked the antenna cable under the
rear window shade enclosure: |
|
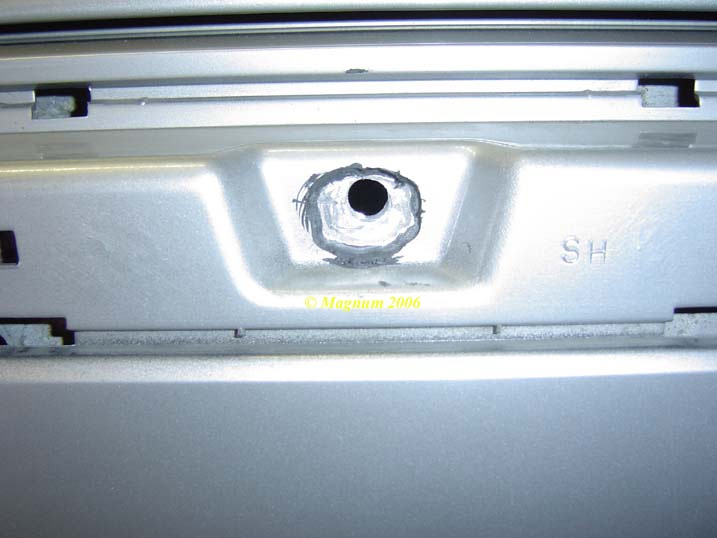
| Now we’ll
leave the TV Module stuff alone and move onto the Backup
Camera. I have PDC so I did not have to drill a hole, I just
used the existing: |
|
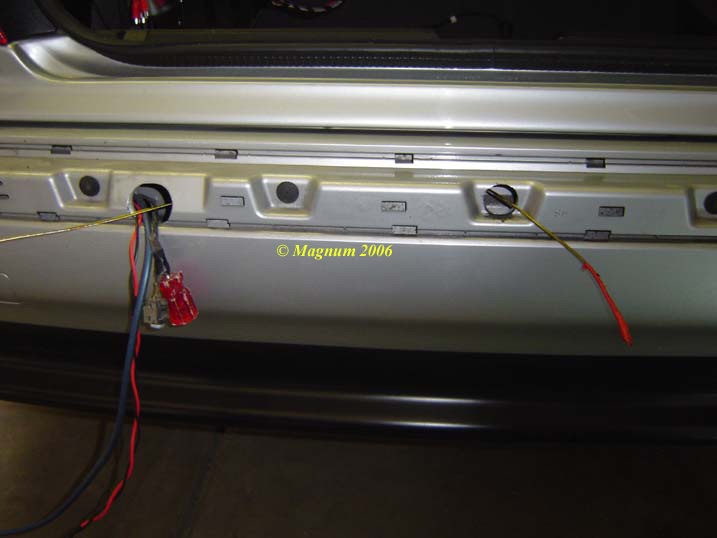
| Fish your coat
hanger through and it comes out the bumper hole, then I pulled
the cables back through: |
|
| Now un-tape
and keep fishing. I pulled the cables to this point and stopped
to start working on the hole for the camera: |
|
| Remove this
and start using the dremmel: |
|
| Here’s the
start of it: |
|
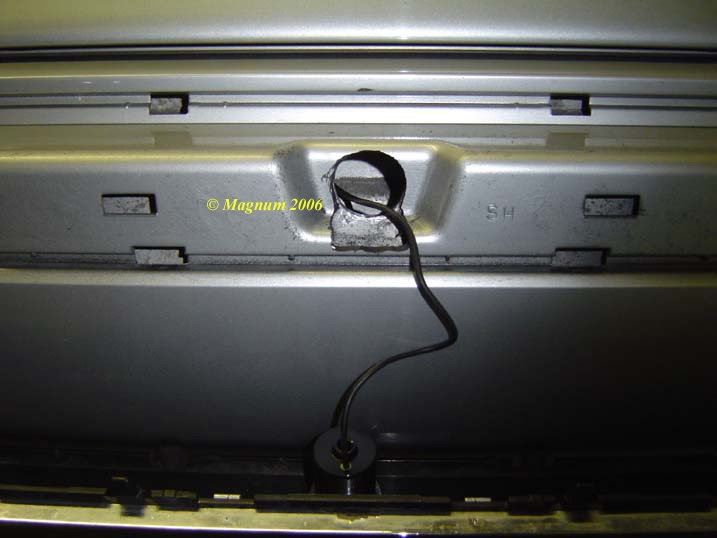
| Mostly done,
so I will pull the cables and finalize for exact fitment: |
|
| Almost ready,
I prepared the cables to sit in the bumper with heat shrink and
tape: |
|
| Here’s the
final hole ready to move on? I was……: |
|
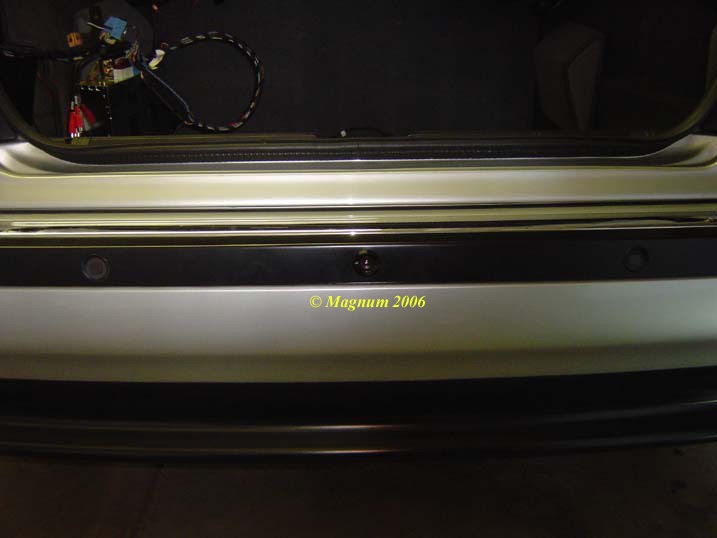
| Here’s what
it looks like: |
|
| Now put your
cables through the existing PDC grommet hole and get the rubber
grommet back in place: |
|
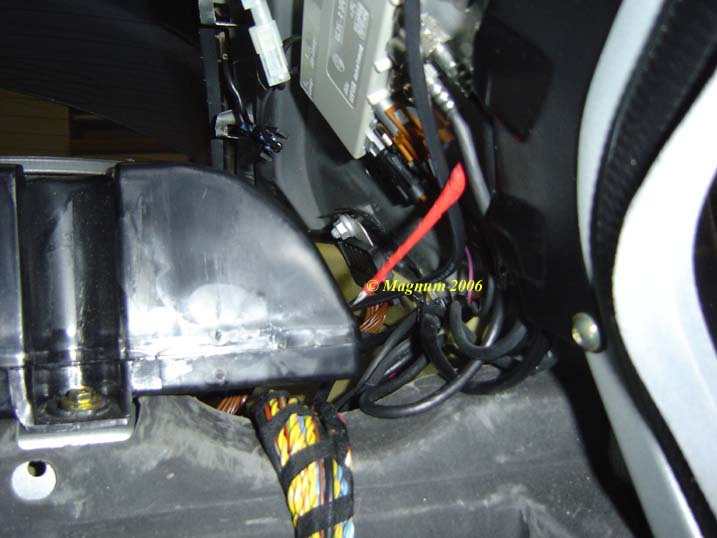
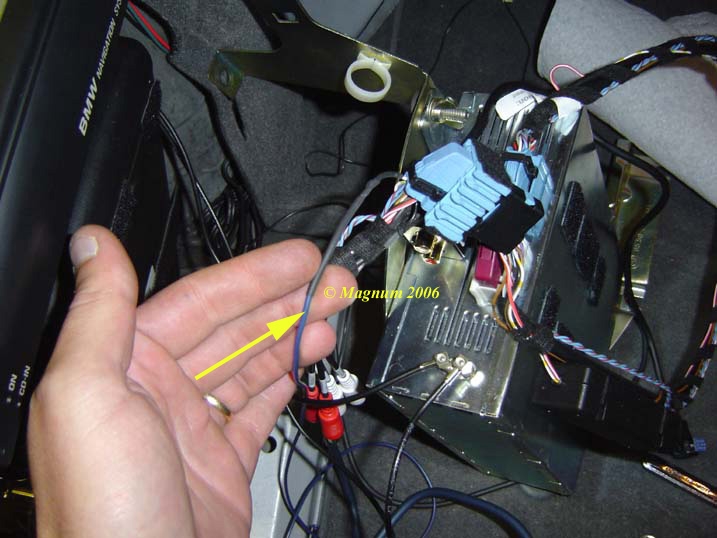
| Lets hook up
the camera to make sure it works. First simply connect the
Video Cable to the Camera input on the TV Module Harness: |
|
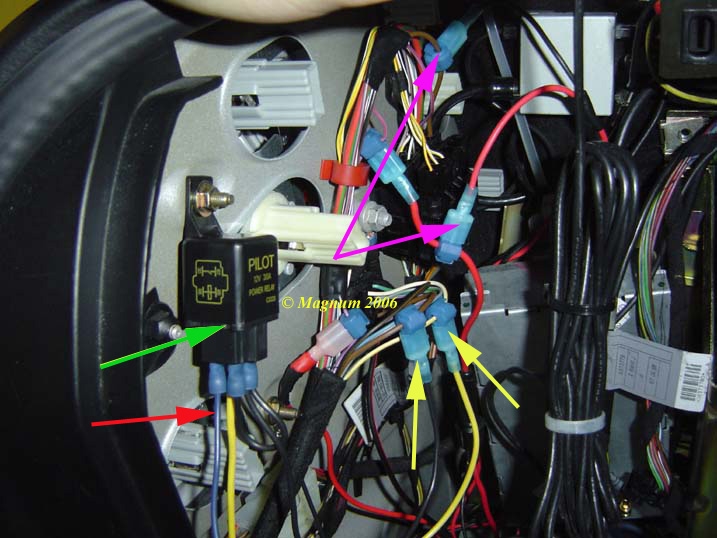
| Now comes a bit of wiring, so I
will try and detail it the best I can.
Here we go:
My Pink[ish]
Arrows:
My Green
Arrow:
My Yellow
Arrows:
My Red Arrow:
|
|
| Here’s the
tap on Pin 17 of the Video Module Harness: |
|
| Ok let’s make
sure it works when the car goes into reverse, yep it does: |
|
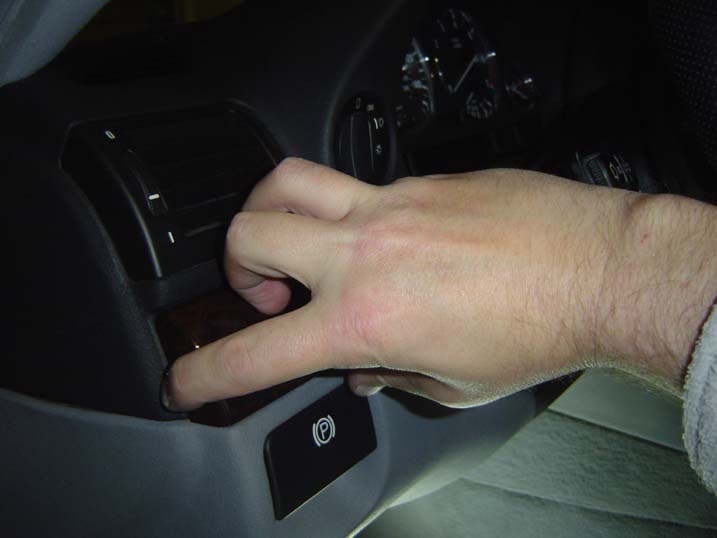
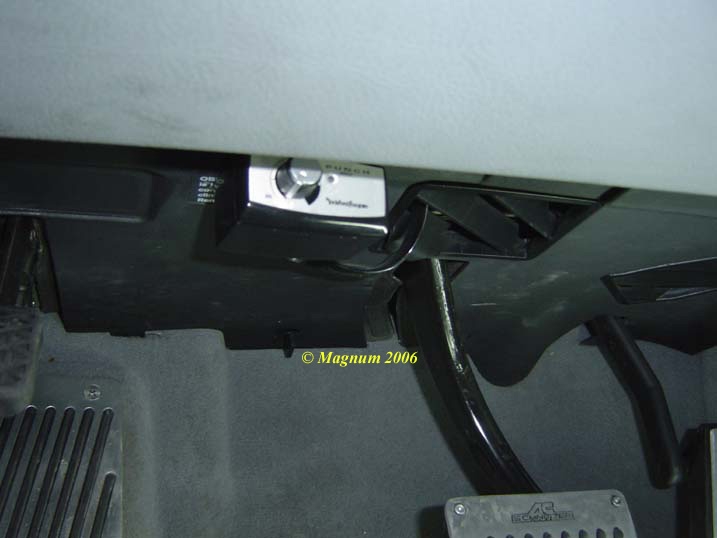
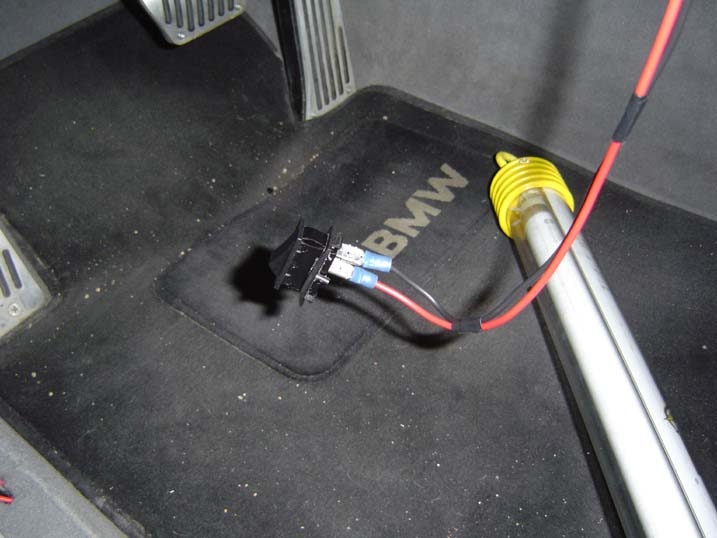
| Now let’s get
ready for the long run from the rear to the front. I needed a
little break so I screwed with the switch fitment. Just pop
this out and remove the blank black cover: |
|
| After a
little time with the dremel you get this: |
|
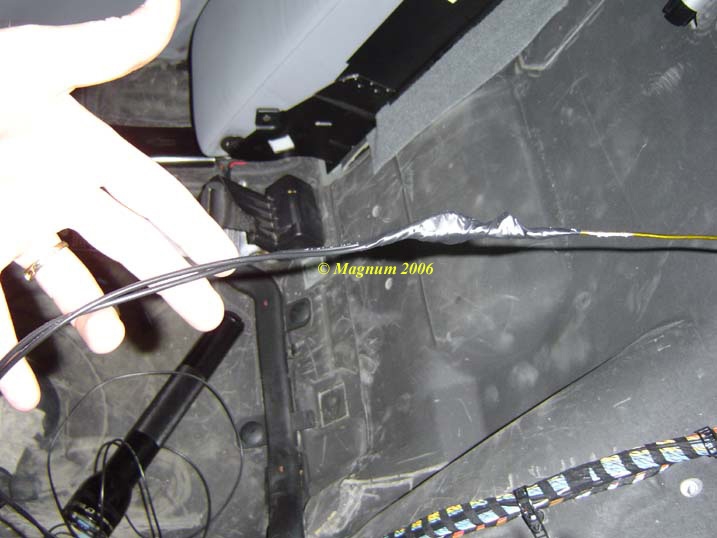
| Now we have
to go from the blue wire previously pictured all the way the
plate we just removed. Again I went through the same hole and
pulled the wire through to the back: |
|
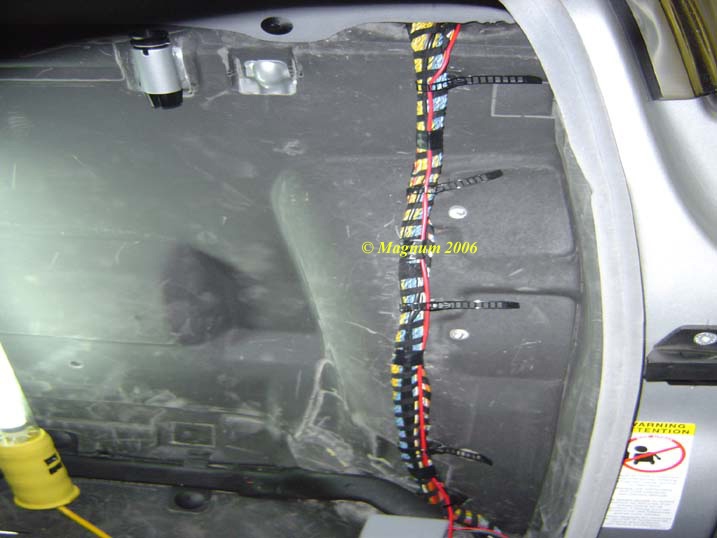
| Tape the wire
on and pull it into the trunk. I ran it through the existing
harness because I didn’t want to remove my subs in the trunk: |
|
| Ready to go to
the front?: |
|
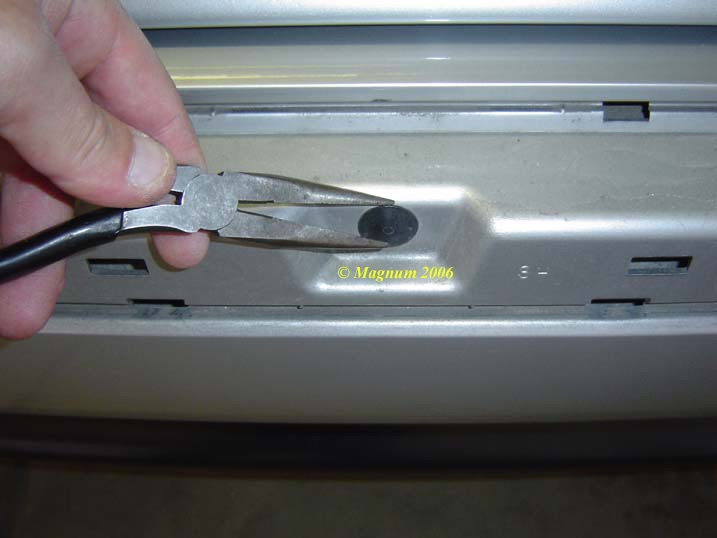
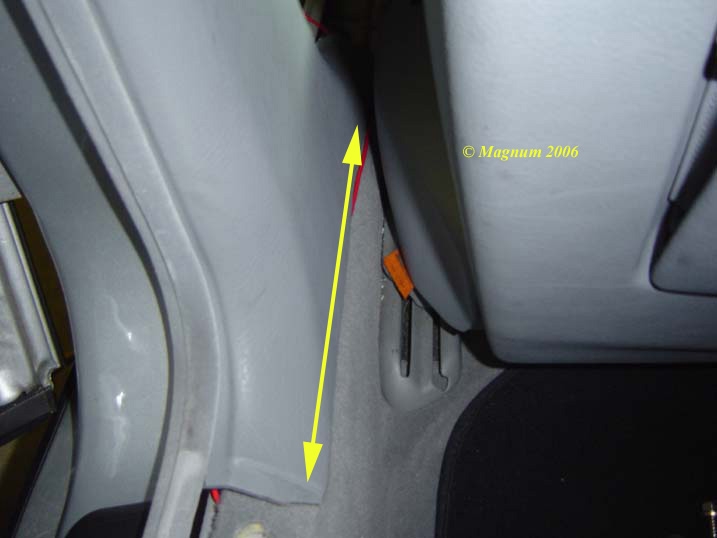
| Pop the lower
trim / kick plate thing: |
|
| No need to
remove the B-Pillar as the wire can be pushed under it: |
|
| Now remove
the lower front trim / kick plate just the same as the rear, and
tuck it under the carpet: |
|
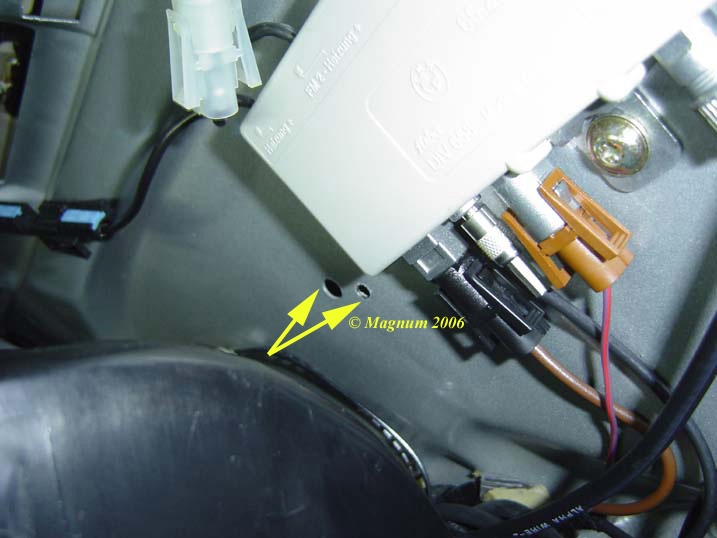
| Now remove
this, 3 screws in the front and 3 push screws on the back of it
[closets to firewall]: |
|
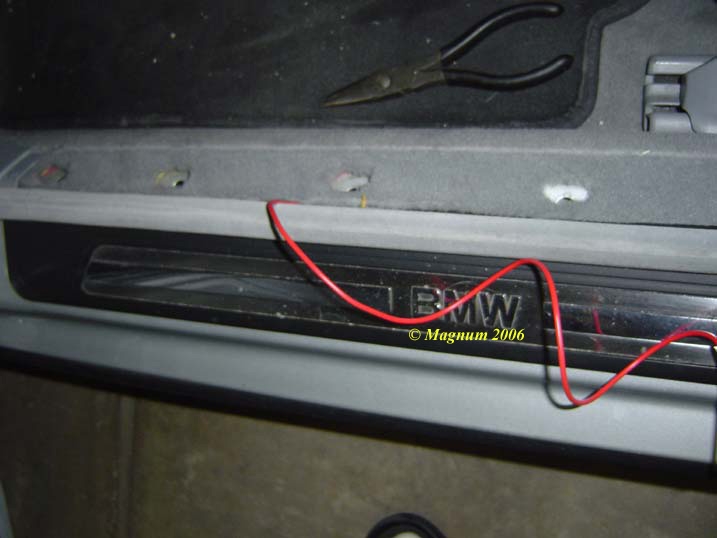
| Fish a
positive and ground up through: |
|
| Now jump the
back and tap the blue wire we previously tapped [Pin 17] coming
off the TV Module Harness: |
|
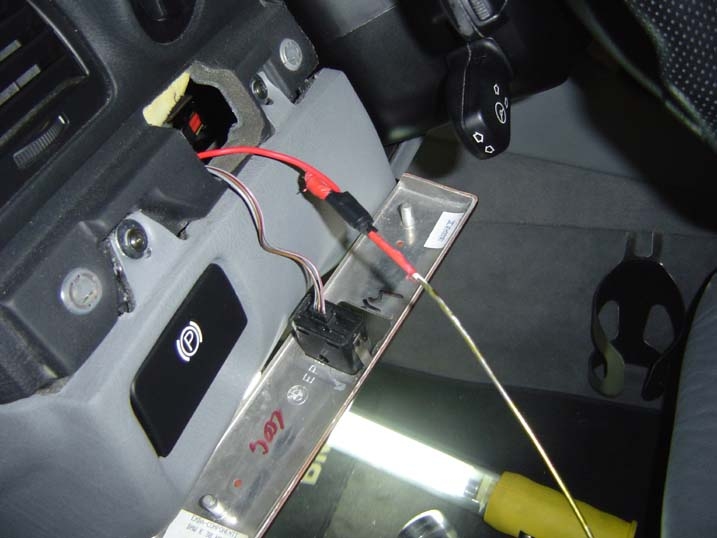
| Now back to
the front and connect up the switch. I chose to ground it in
the main cabin: |
|
| Now snap the
toggle in the piece you cut out, put it back in place and get
ready for the success of all your DIY labor, we’re almost done: |
|
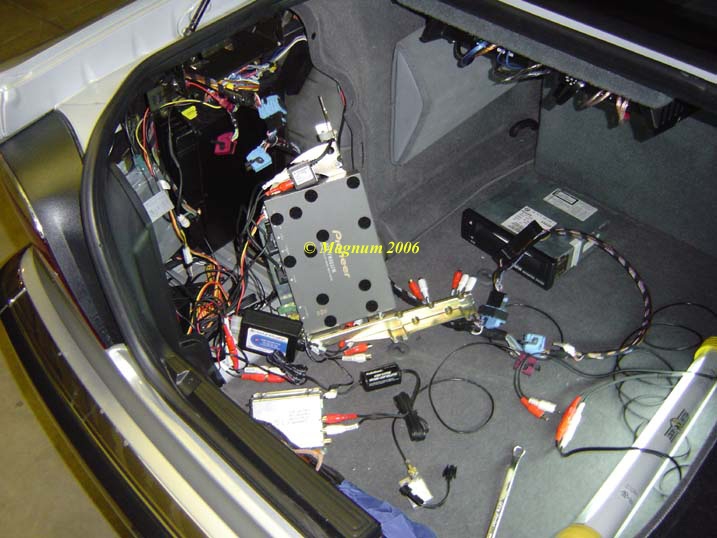
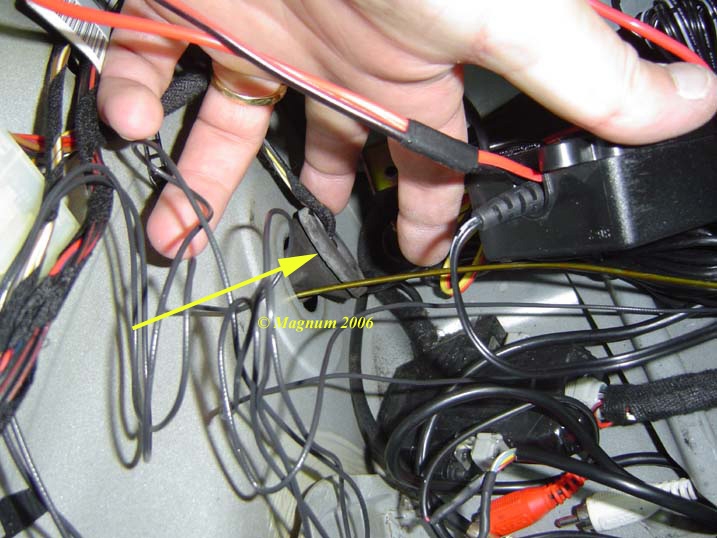
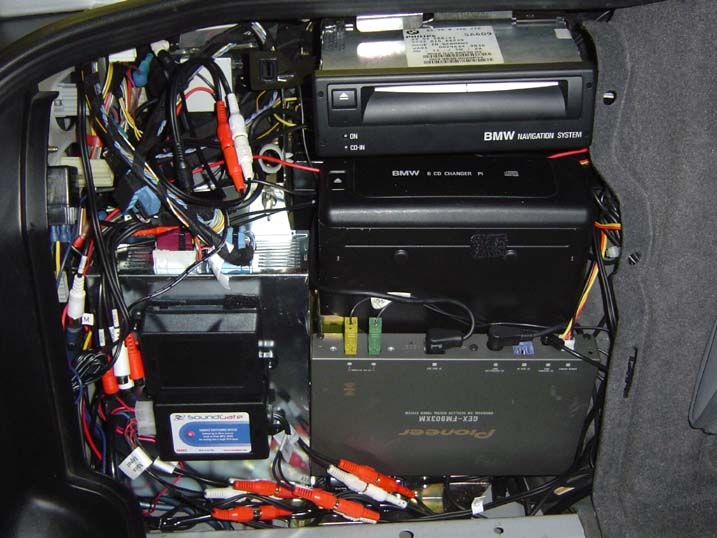
| Now I had a
little arranging and cleaning up to do, but here is what it
looks like in the trunk now: |
|
| Button
everything back up: |
|
| Reconnect
your Negative Battery Cable: |
|
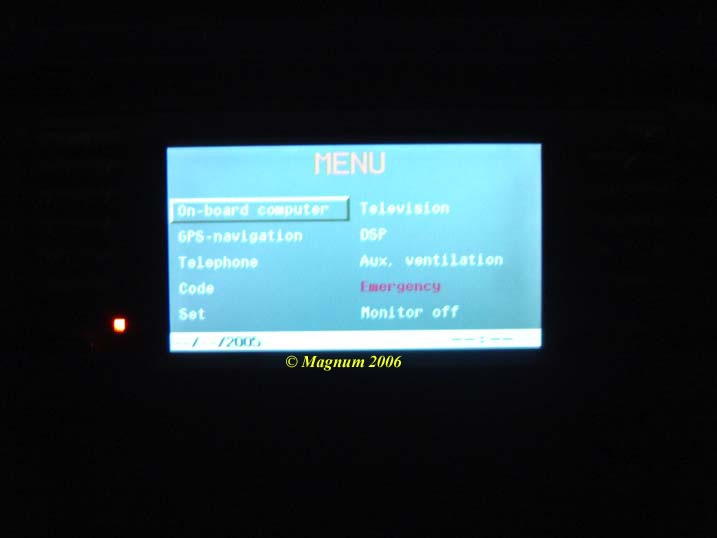
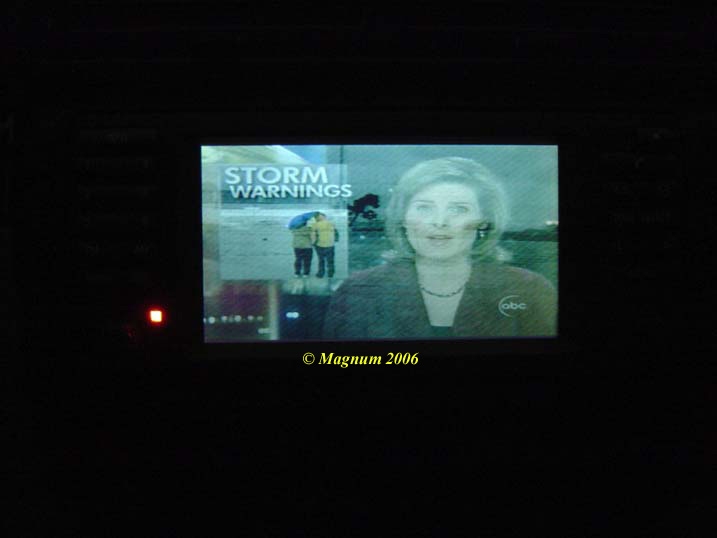
| And enjoy
your new Car TV / NAV with Backup Camera and an “On Demand”
feature. Here are some TV shots: |
|
| Another: |
|
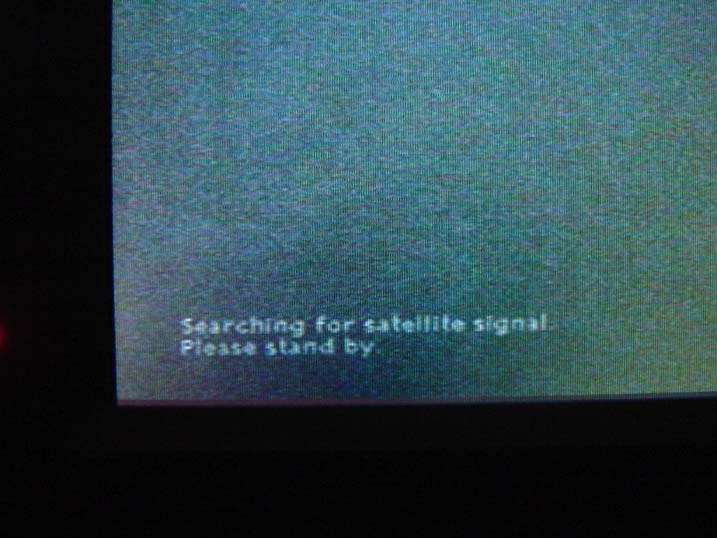
| And then the
really weird thing is it appears I get MTV2 on station 30 but I
got this before it came in: |
|
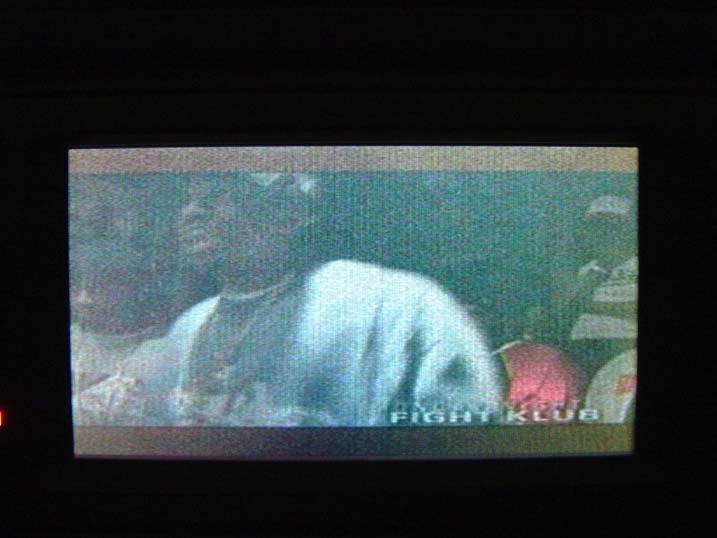
| And then this
showed up, hmmmmm: |
|
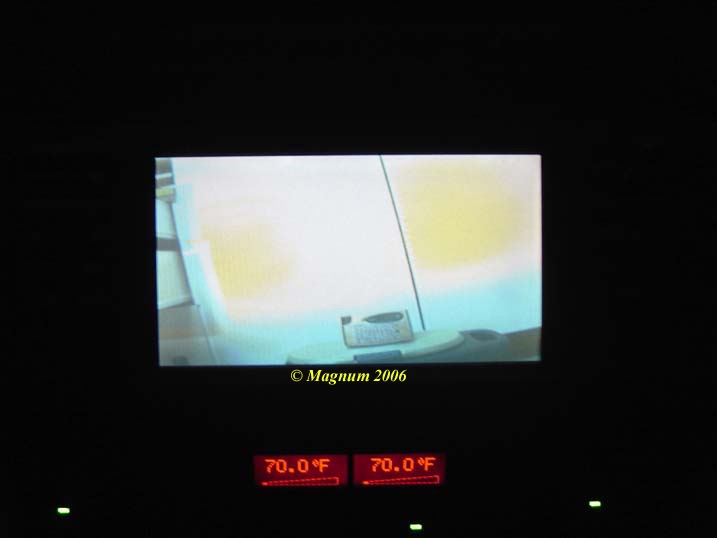
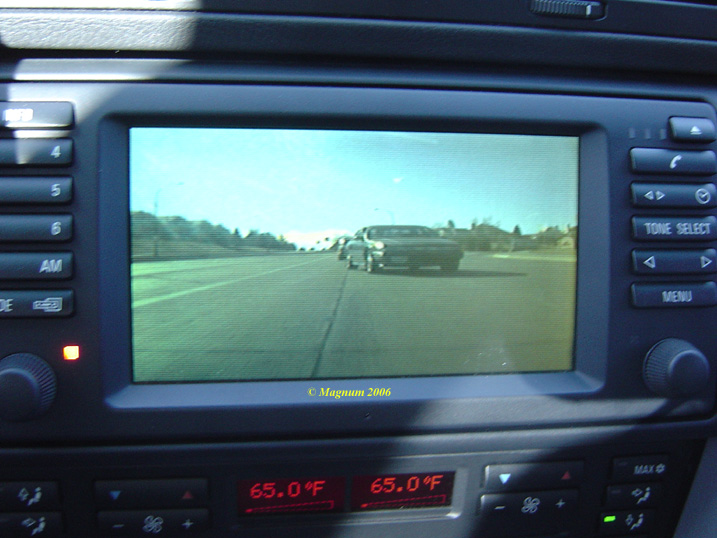
| Here’s the “On
Demand” Backup Camera on the road: |
|
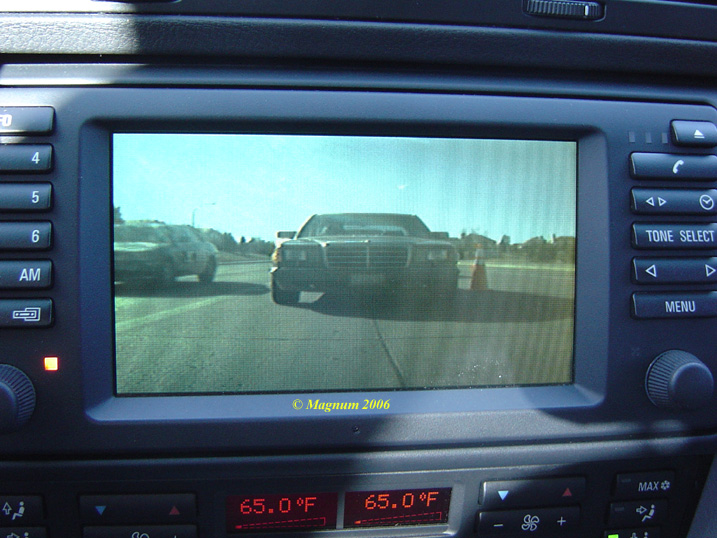
| And another: |
|