| Ok getting the wires from the trunk to the rear seat is actually
pretty easy. Just pull the cover from the electronics area, then fish
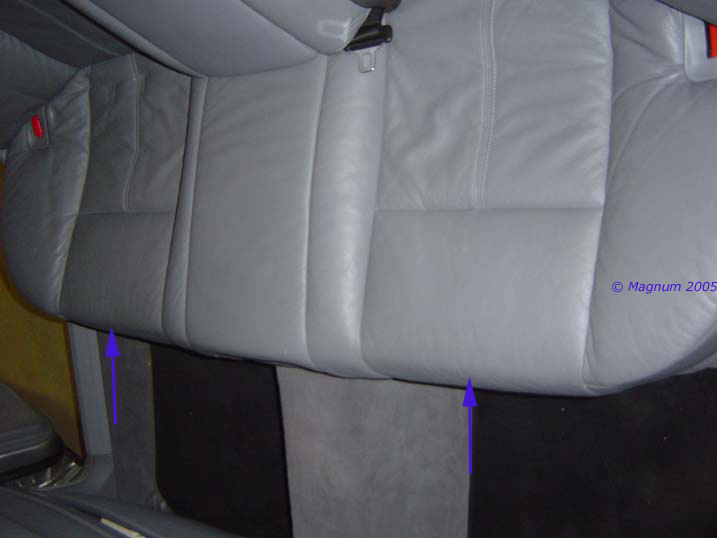
the wires around and in the cabin from the trunk. To get started
remove the bench portion of the seat. It’s pretty simple, just pull
up at these points: |
|
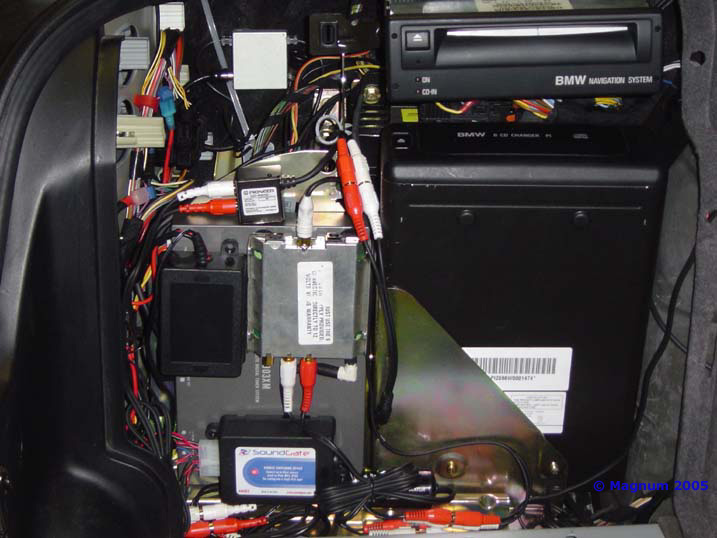
| Hook the wires up to whatever accessory you need to in the trunk and
run them behind the panel covers in the trunk: |
|
| Then there’s a nice little flat in the middle of the seat backs under
the rear seat: |
|
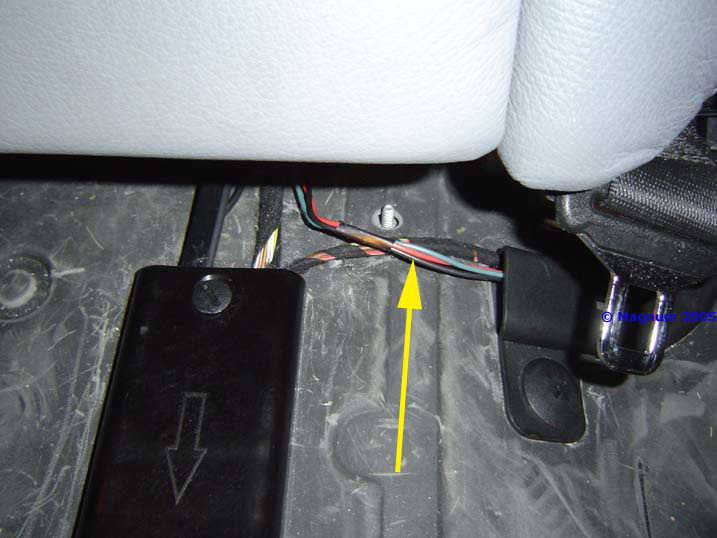
| Take a flathead screwdriver and remove the plastic bolts that hold
this harness cover down: |
|
| And tuck your wires underneath it. Here’s where I clipped the wires,
rolled them up, stopped, and waited for another day: |
|
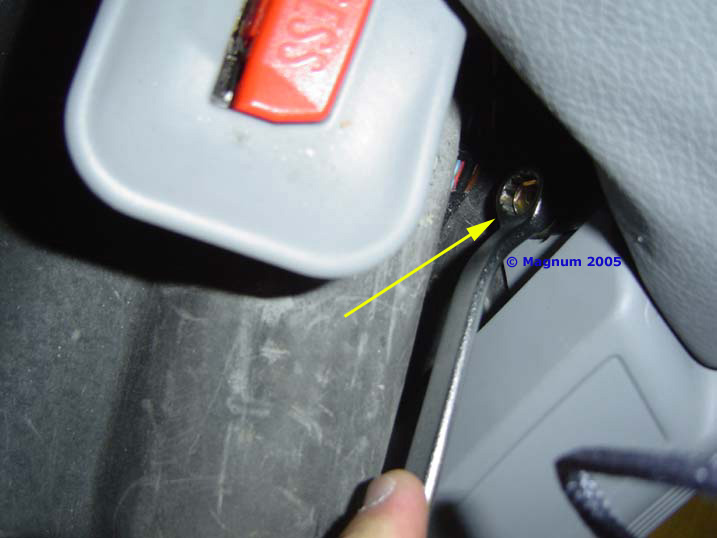
| Ok, time to finish. Yeah I had to pull the seat again and then move
onto removing the rear lower trim kick panel. 10 mm Bolt: |
|
| Then
pop the trim off: |
|
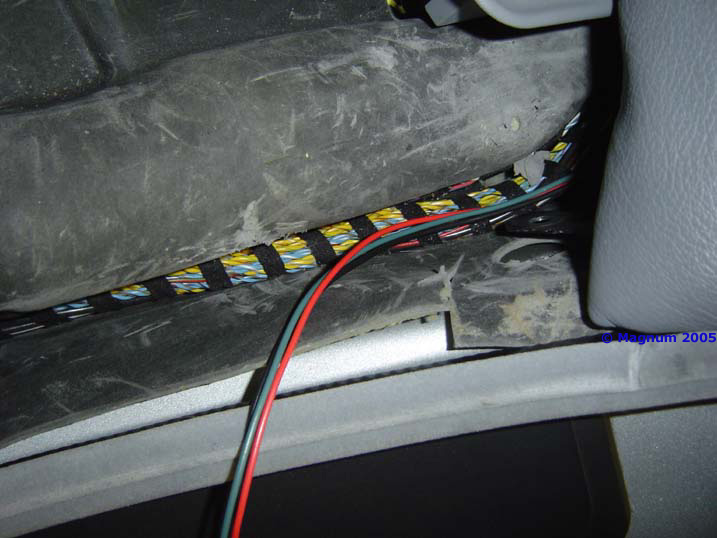
| Tuck
the wires down near the factory harness. You can tape or zip-tie them
to it if you want: |
|
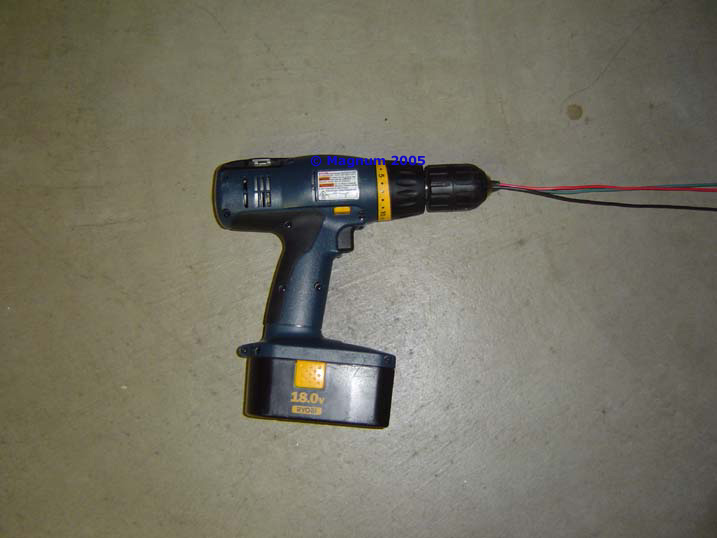
| Now we need to get to the rest of the wiring, making your own wiring
harness J…Put
the wires in the end of the drill and tie the other end off: |
|
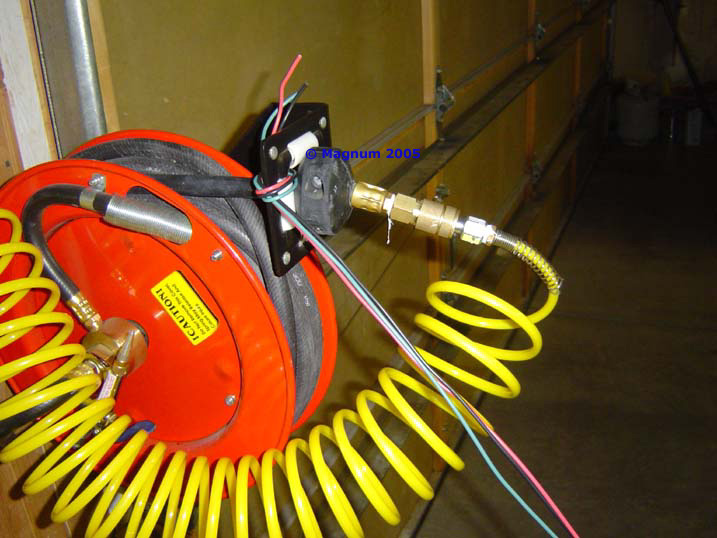
| Like
so, and then run the drill on a slow speed: |
|
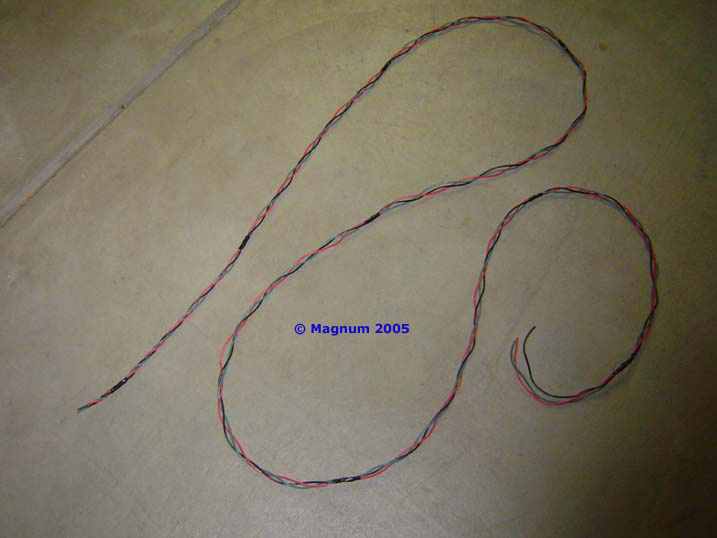
| Tape
up the ends up before releasing either end, then tape the middle in
various increments and get this: |
|
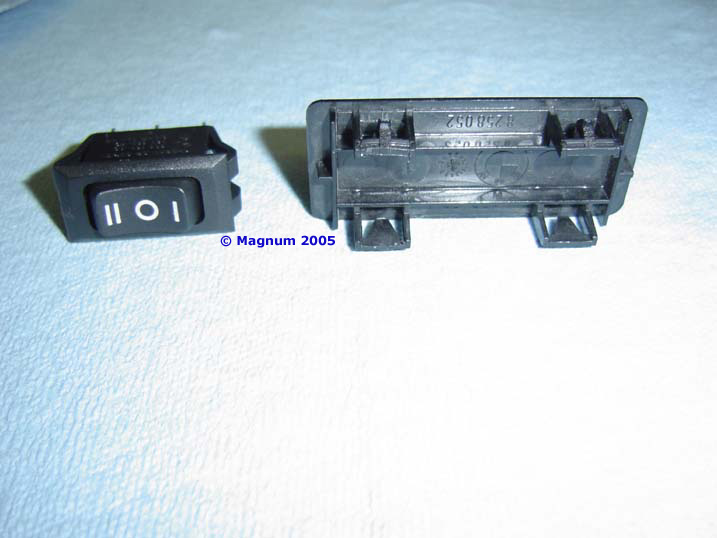
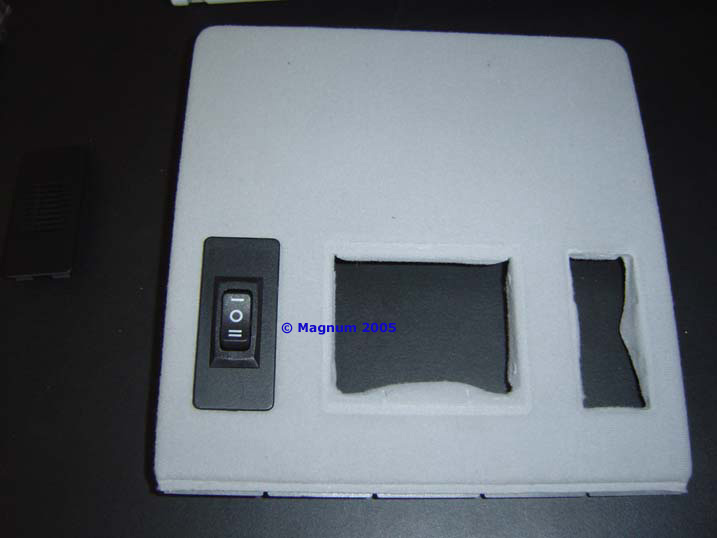
| Now I’m going to move to the front and start bringing the wires to the
back. First thing was to get the blank cover ready for the toggle
switch. Ready to Dremel it! |
|
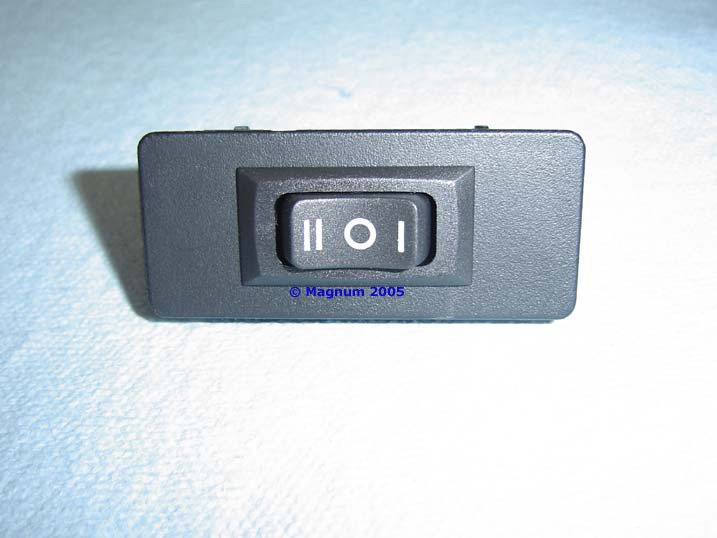
| With various bits, sanders and cutting wheels I was able to carve it
out. You’ll get it done with something else I’m sure, but I found the
dremel worked awesome: |
|
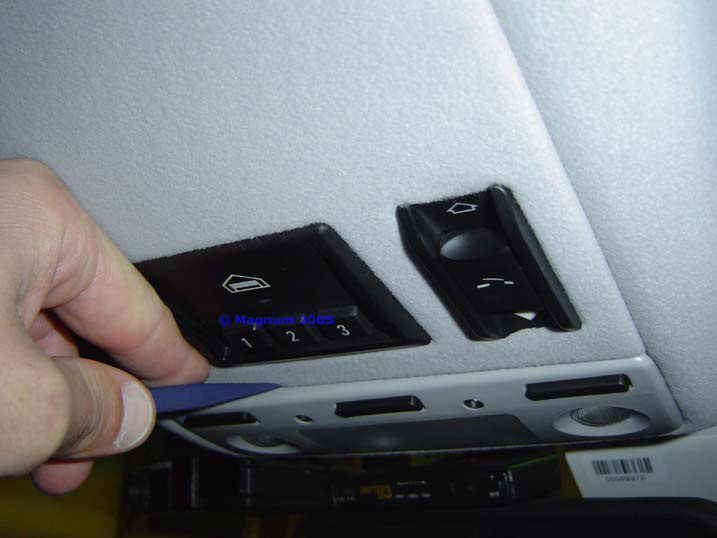
| Now
let’s try and finish this up!!! I chose to mount the 3 port switch UP
TOP… Take the panel out and make your cut for the blank plate / new
toggle switch plate…..I chose to re-mount the microphone so I had to
and cut a new spot for the microphone, then I put the toggle switch in
the microphone’s old spot. Pop out the lights and panel: |
|
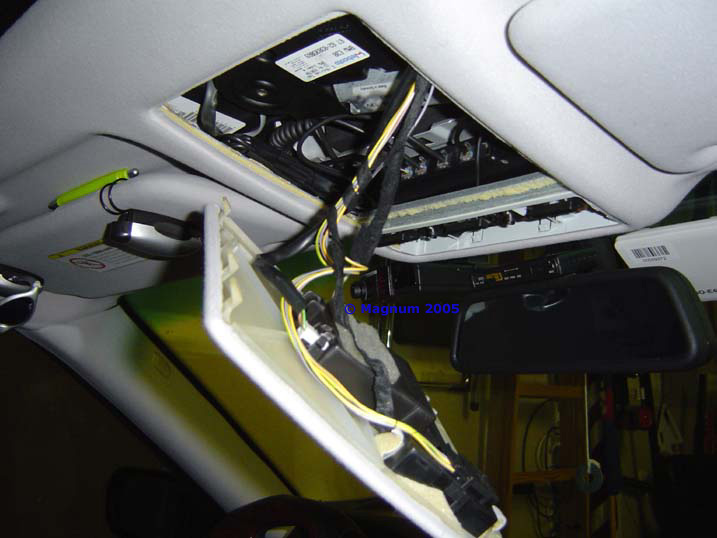
| Then
the panel: |
|
| Unhook all the existing wires and take it to the work bench. You can
see where I put the toggle switch, so you’ll need to measure and
cutout a whole for the microphone. Do yourself a favor and just cut
an “X” in the fabric so you can pull it back and glue it down. Just
as you see in the cutout on the right in this photo: |
|
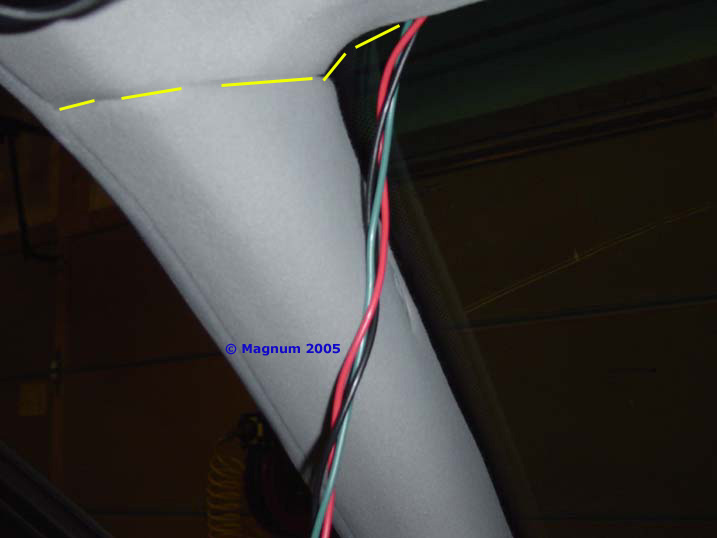
| Cut
your hole, like previously mentioned, it may take a little while to
get it perfect. I used my dremel and then start running the wires.
Run it through the headliner and down the A-Pillar like most would: |
|
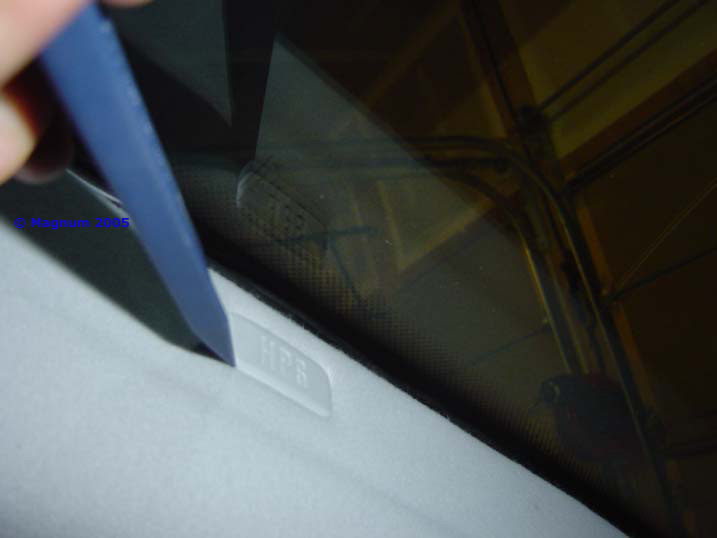
| To get the 3 wires through that bend [A-Pillar / Headliner] you’re
going to have to loosen the A-Pillar. Pop this off: |
|
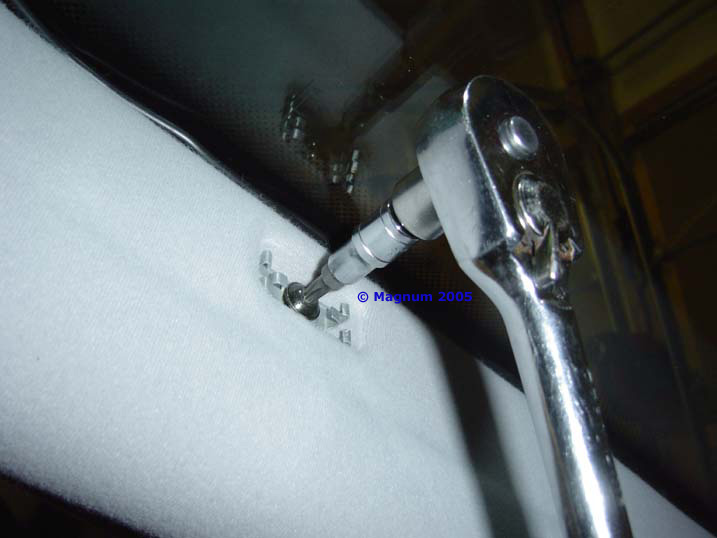
| Now Torx T-25 to loosen: |
|
| Now, in the next few steps we’ll remove some trim pieces to route the
cables: |
|
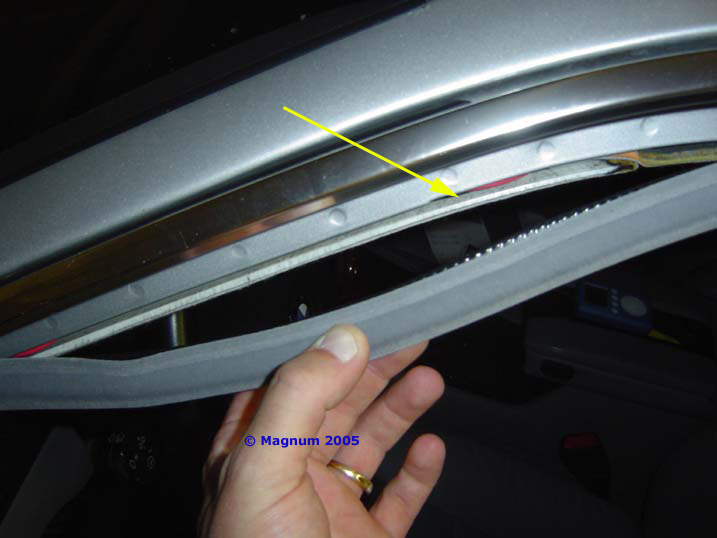
| Remove weather stripping a bit: |
|
| And run all the way down, Run it under the lower plastic kick plate
trim: |
|
| To pop off the front lower trim panel, simply insert tool of choice
and pop it up. Several plastic clips hold this in place: |
|
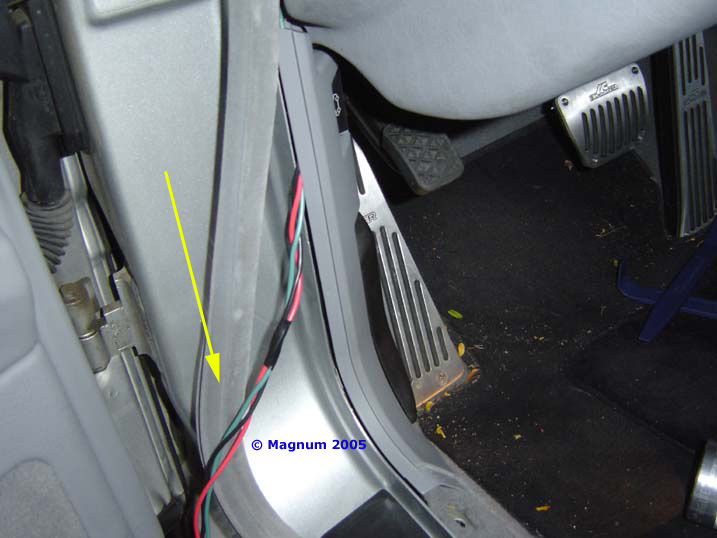
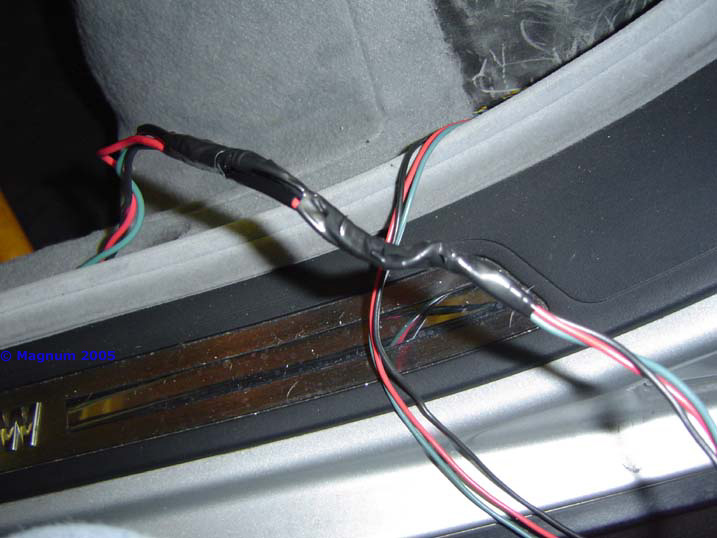
| And run the wire like this, you can just tuck it under the B-Pillar: |
|
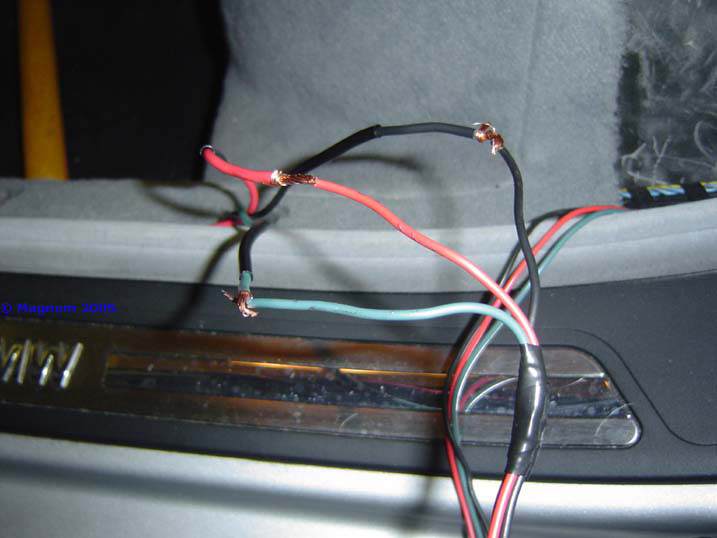
| Meet
them and make sure it works before final solder and heat shrink!!!.
You can see the heat shrink tubing on the wires, make sure you slide
it on the wires before you solder them together: |
|
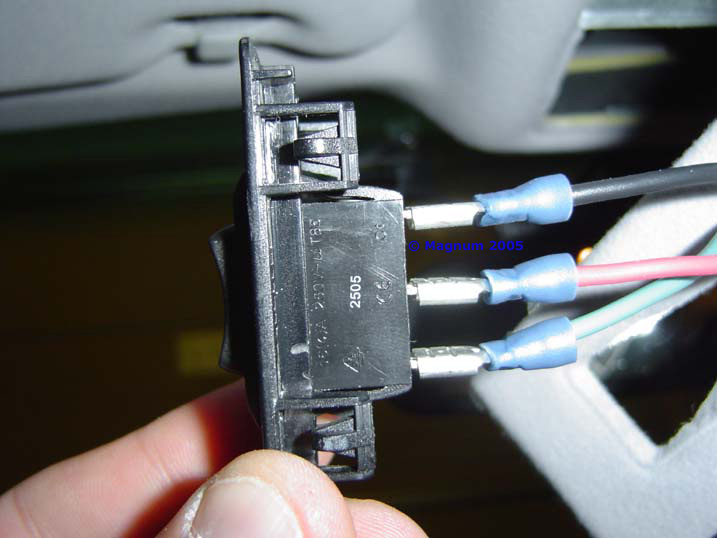
| Plug the toggle switch in to test it: |
|
| Once tested and you know all is working, solder the wires together and
heat shrink the connections, then I took some electrical and taped all
the wires together: |
|
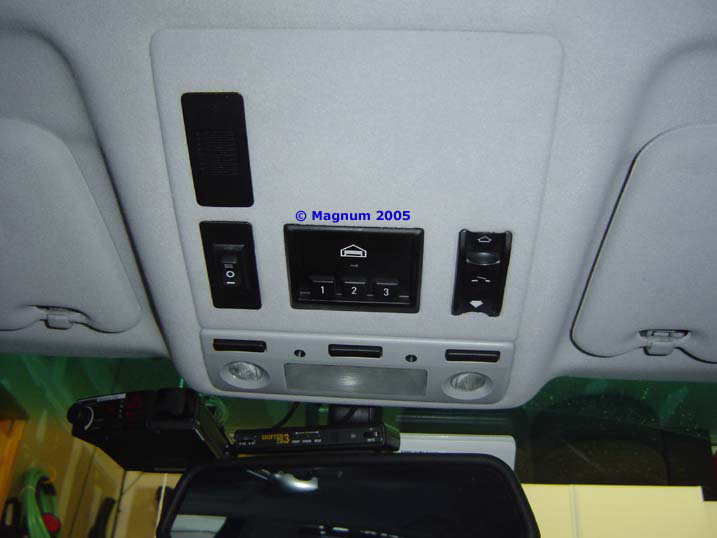
| You end up with an OE look / style 3 Port Auxiliary Switch for your
audio / video needs. It my case because of the DSP module it is in
DSP sound, NOT analog!!! My iPod sounds awesome, movies sound
incredible and no more FM modulation for the XM: |
|